I’m sure you’ve seen a fabulously organized pantry that is also beautiful. I know I have. I absolutely love seeing a beautifully organized space, especially an organized pantry.
I’ve never had a large pantry. In fact, I have always had rather small pantries. Our current pantry has long been one of our least favorite things about our current home.
For years it has been less organized than I would have liked. Just opening the door made me feel unsettled. After organizing my kitchen, I knew it was time to make a change.
Finally, I have it just the way I want it. AND it has stayed well organized for over a year! The task of making it more beautiful happened more recently. Today, I’ll be revealing my update and sharing step by step instructions to help you achieve the same type of look!
*This post contains affiliate links. Disclosure here.
First, here’s a look at my pantry at its worst.
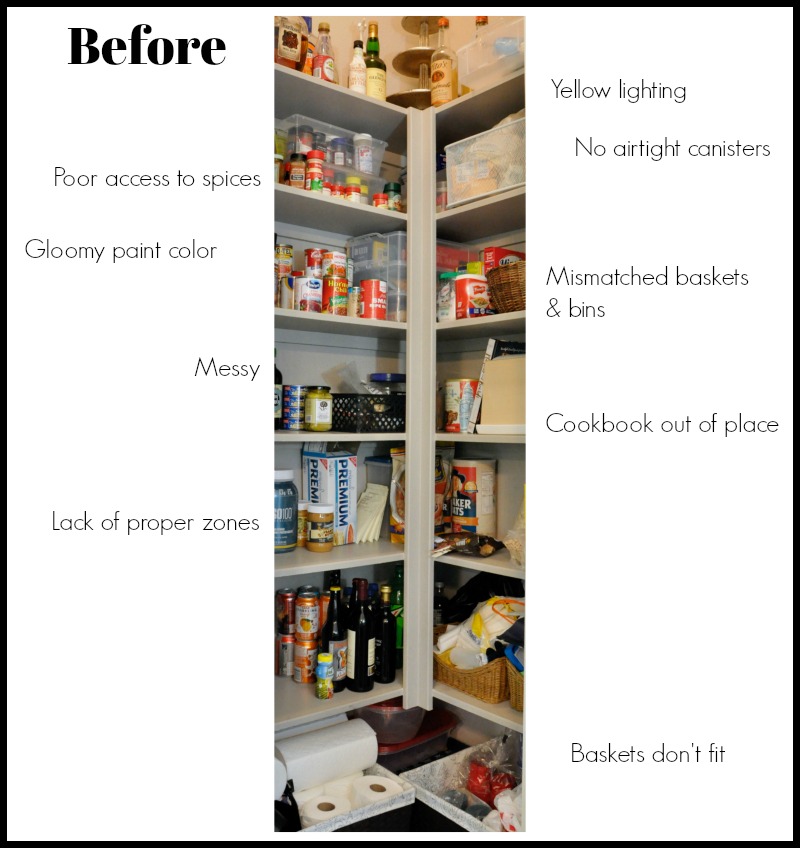
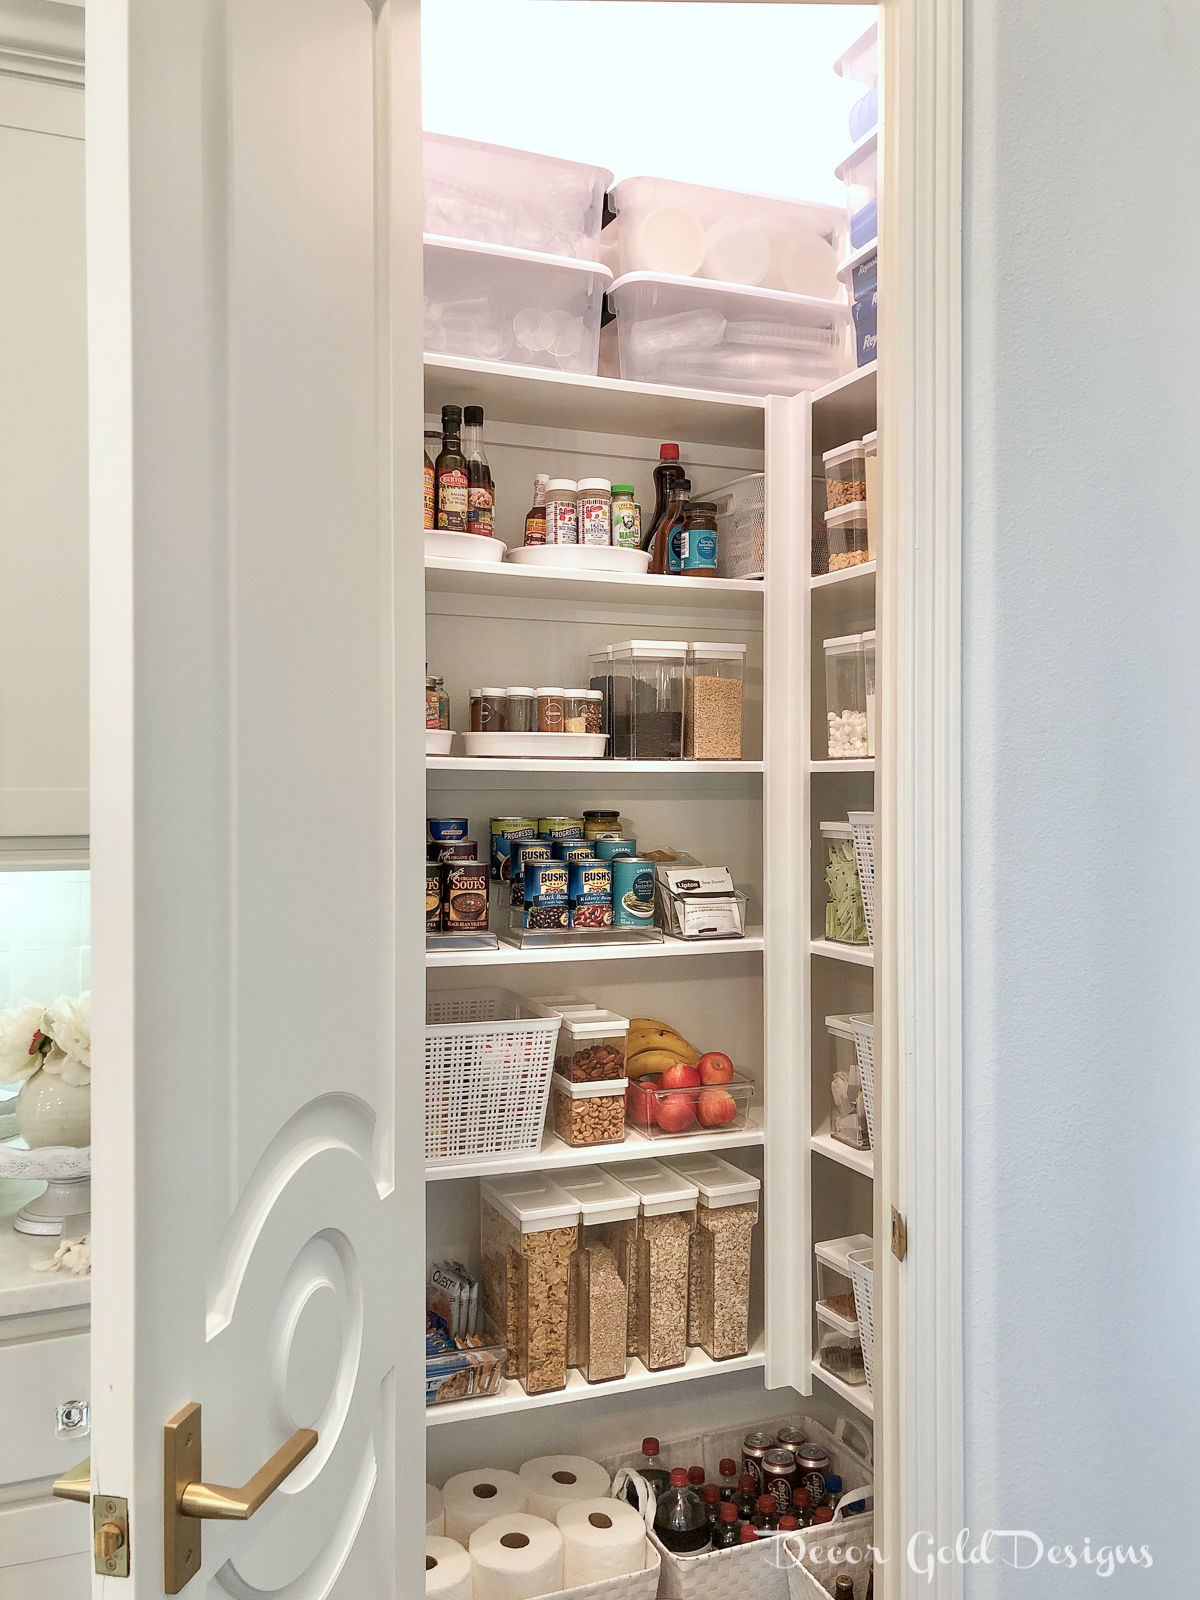
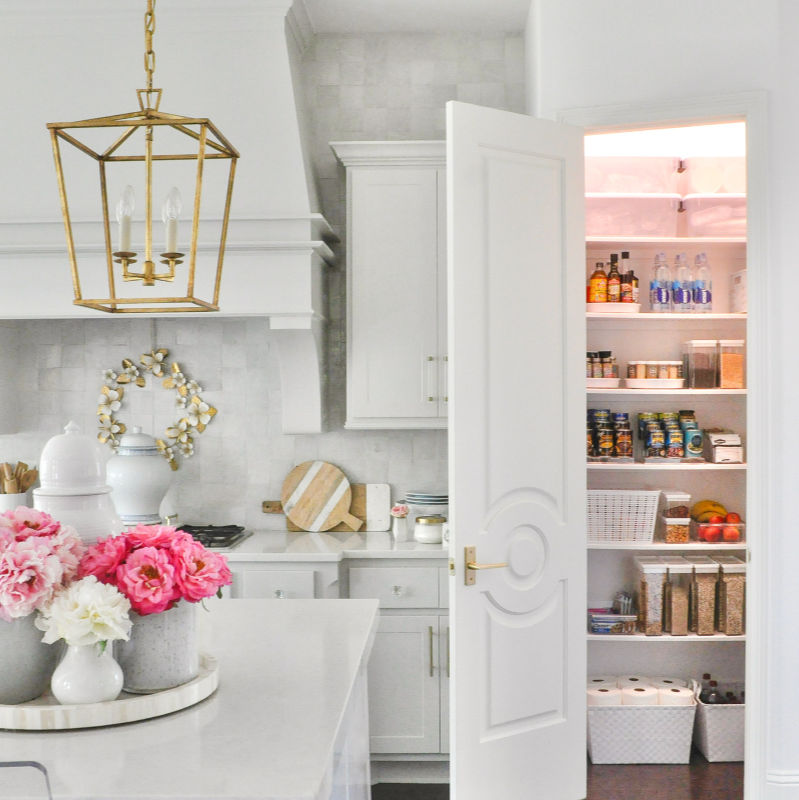
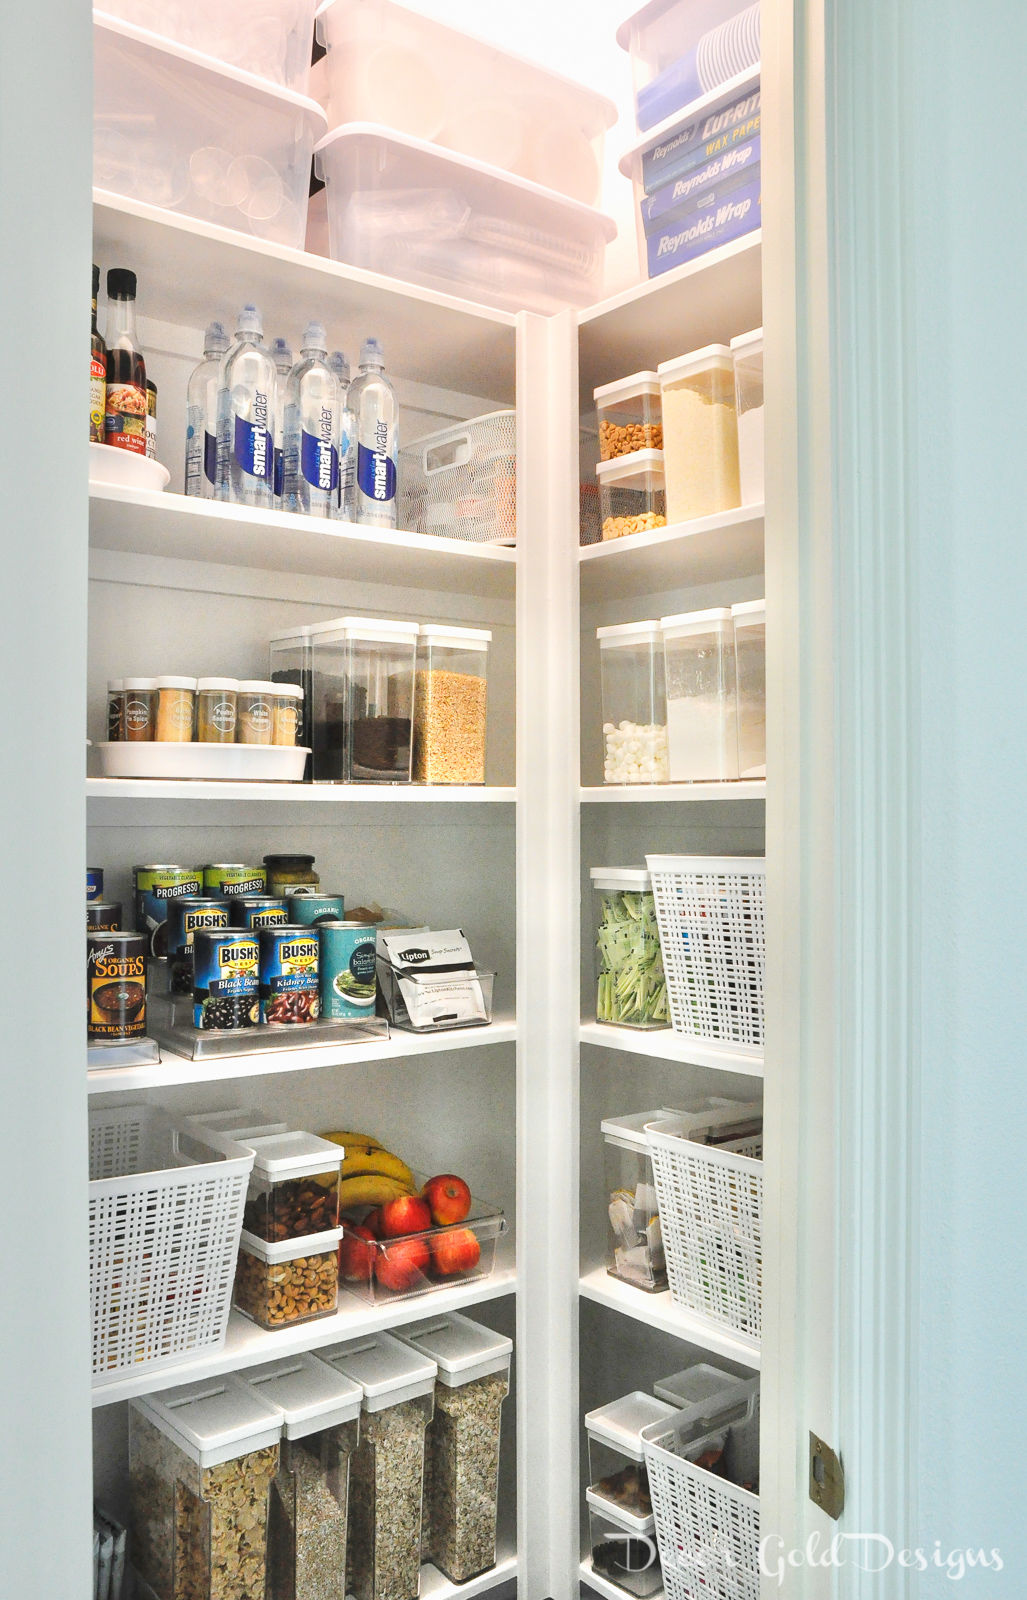
Yikes! My goal was to make much better use of the space and create a visually pleasing & organized look. Here is my new and improved pantry!
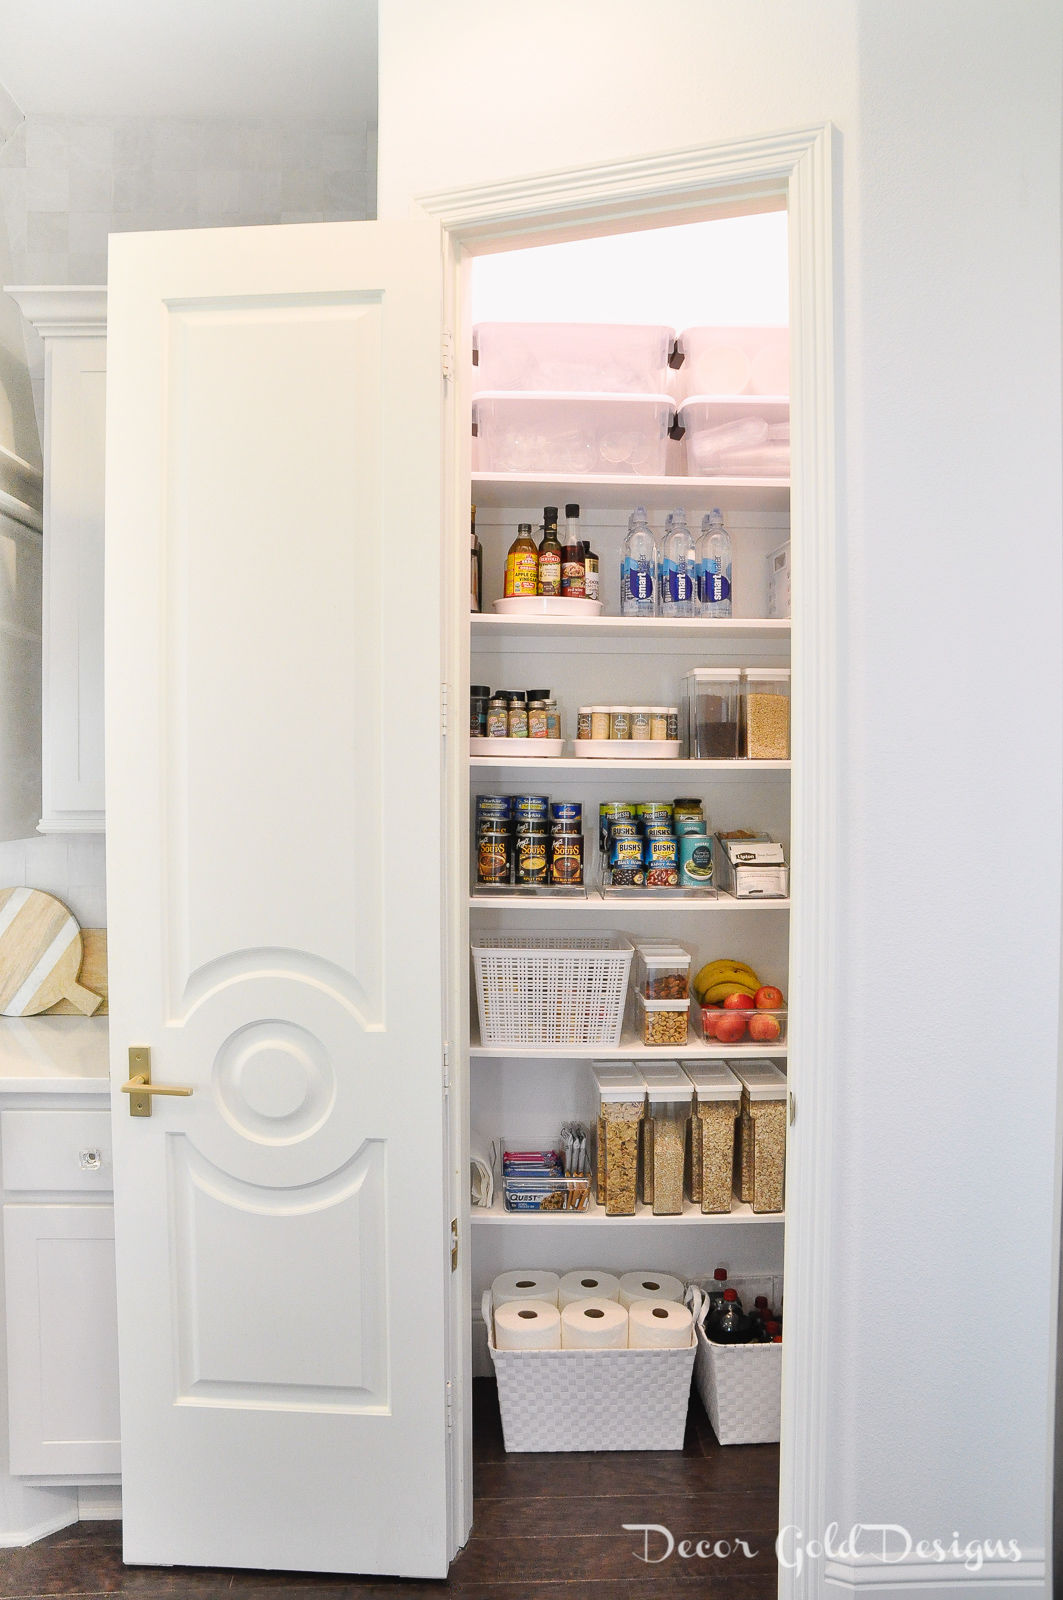
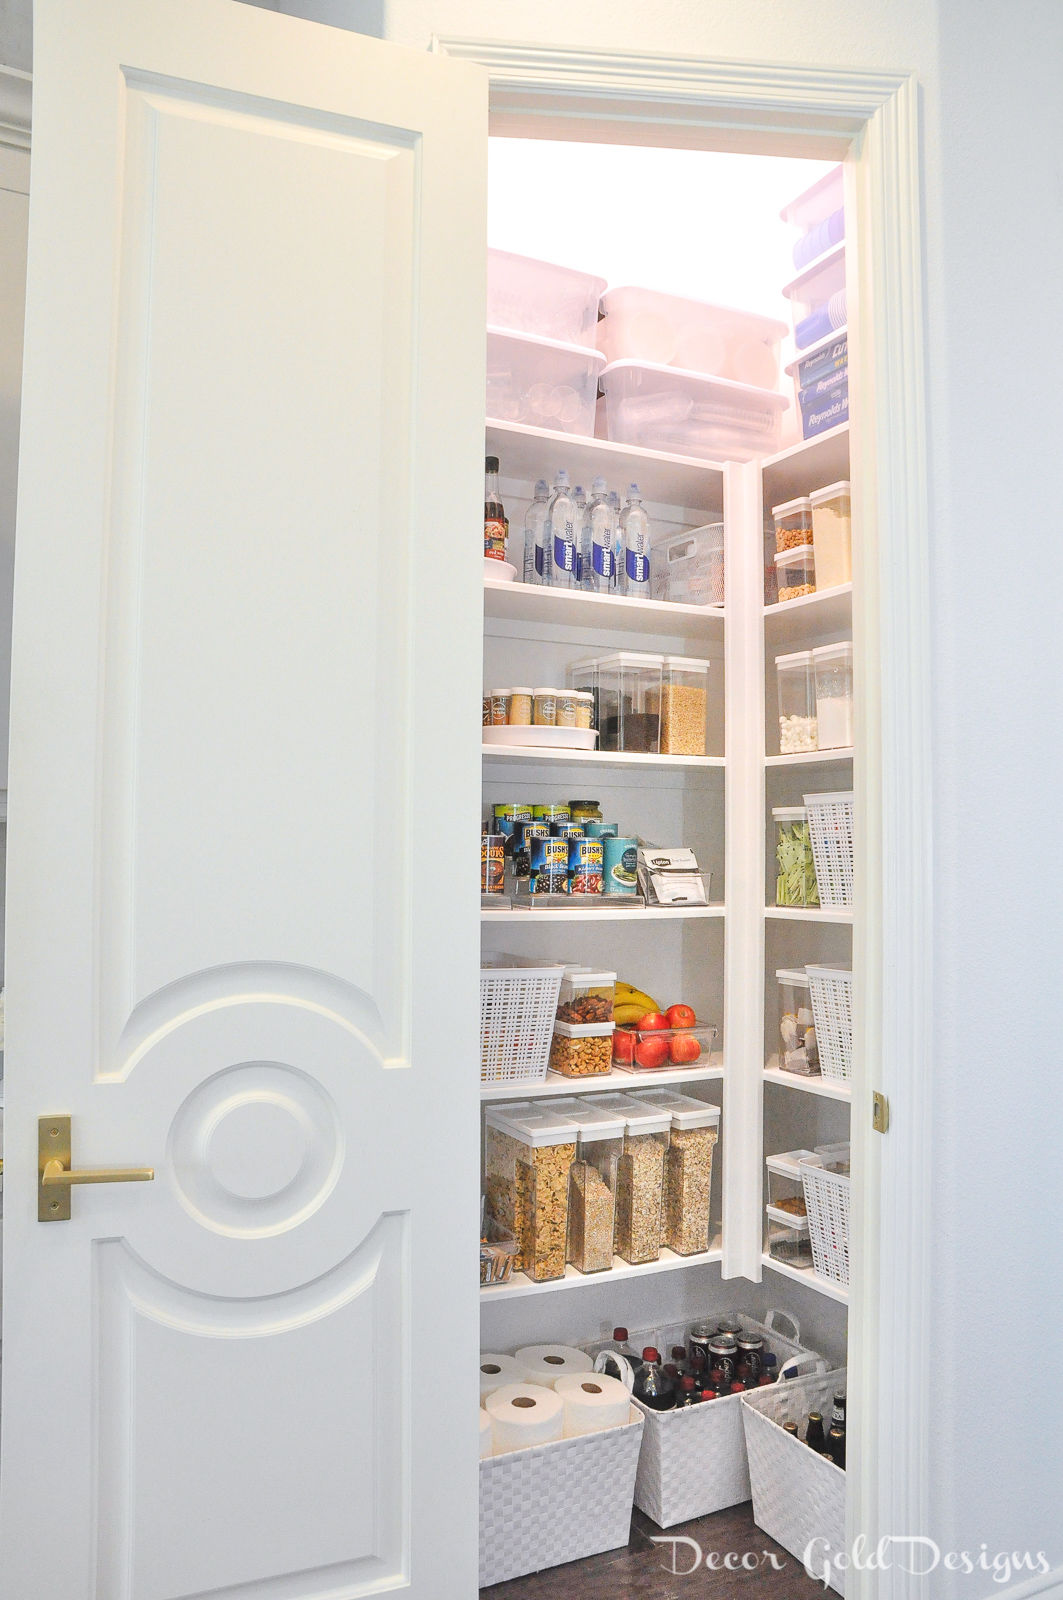
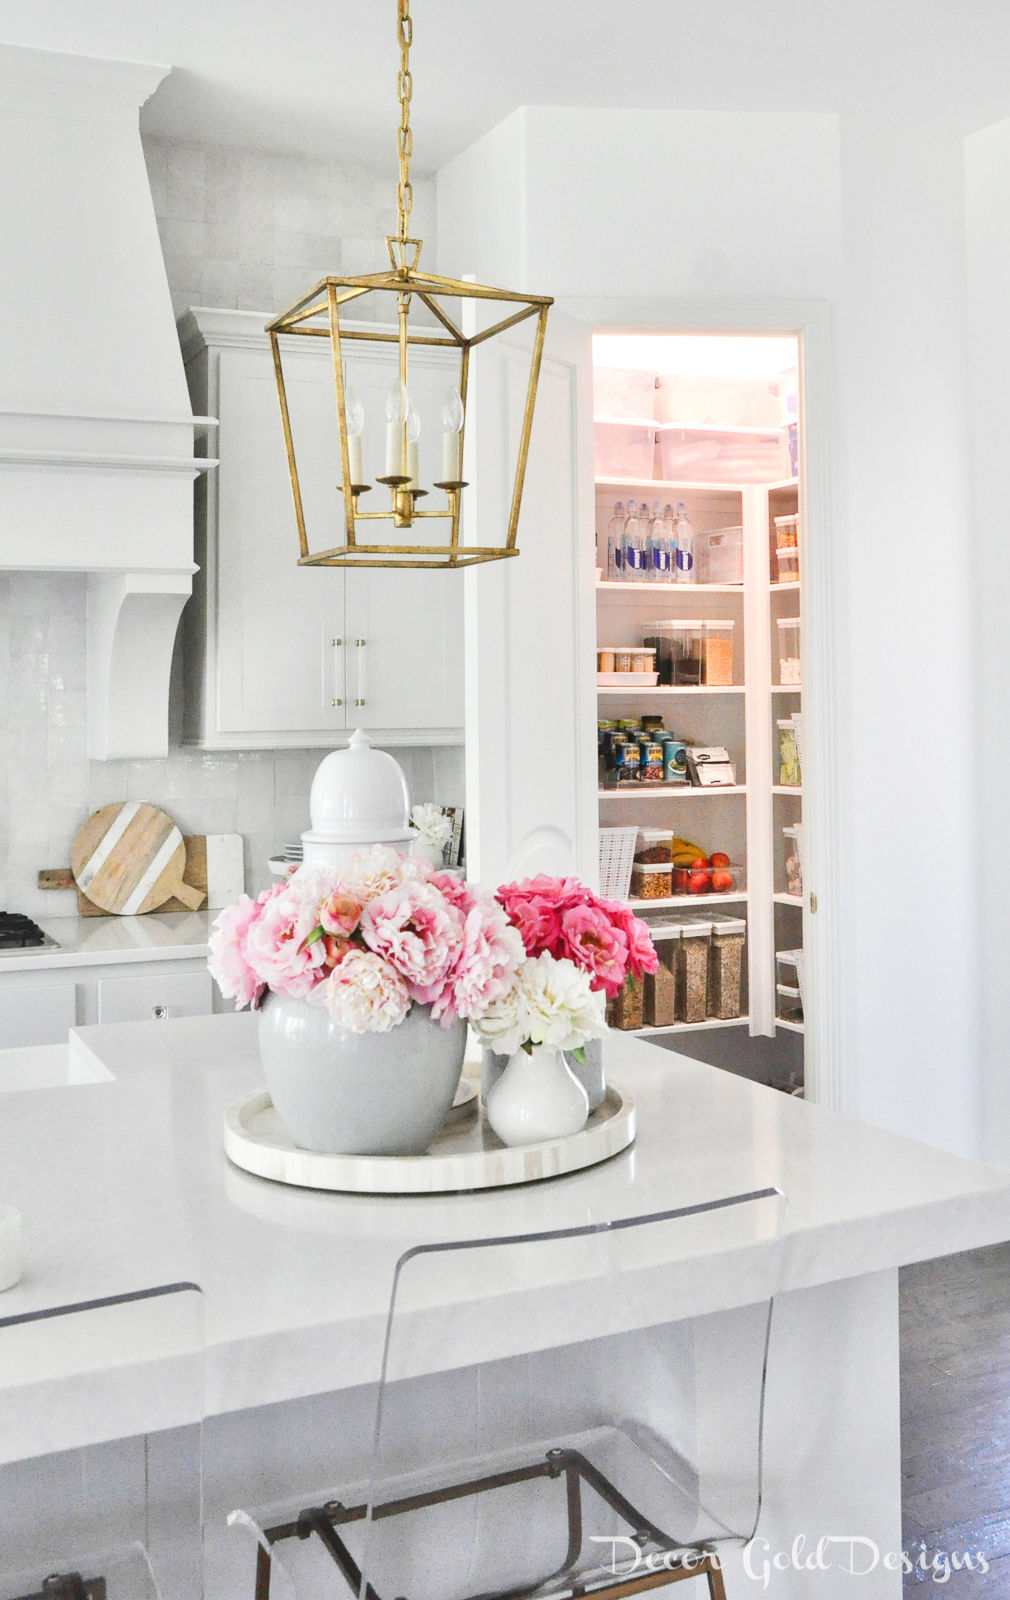
This is how to do it…..
1. Take everything out
There is no way around this step. You must clear everything out of your pantry to transform it properly.
Check product expiration dates and discard anything that is past its usage date. Combine duplicate items. Make a list of the items you need to replace.
4. Add containers and organizers
The best way to achieve maximum functionality and beauty is with matching or coordinating containers. Containers make your pantry easier to keep clean and organized as well.
Bulky boxes and bags in mismatched sizes shapes and colors will never look as nice as a coordinated, organized approach.
Additionally, removing food from the original containers will give you even more storage space.
For reference, my shelves are 11.5″ high and the bottom one is 14″ high.
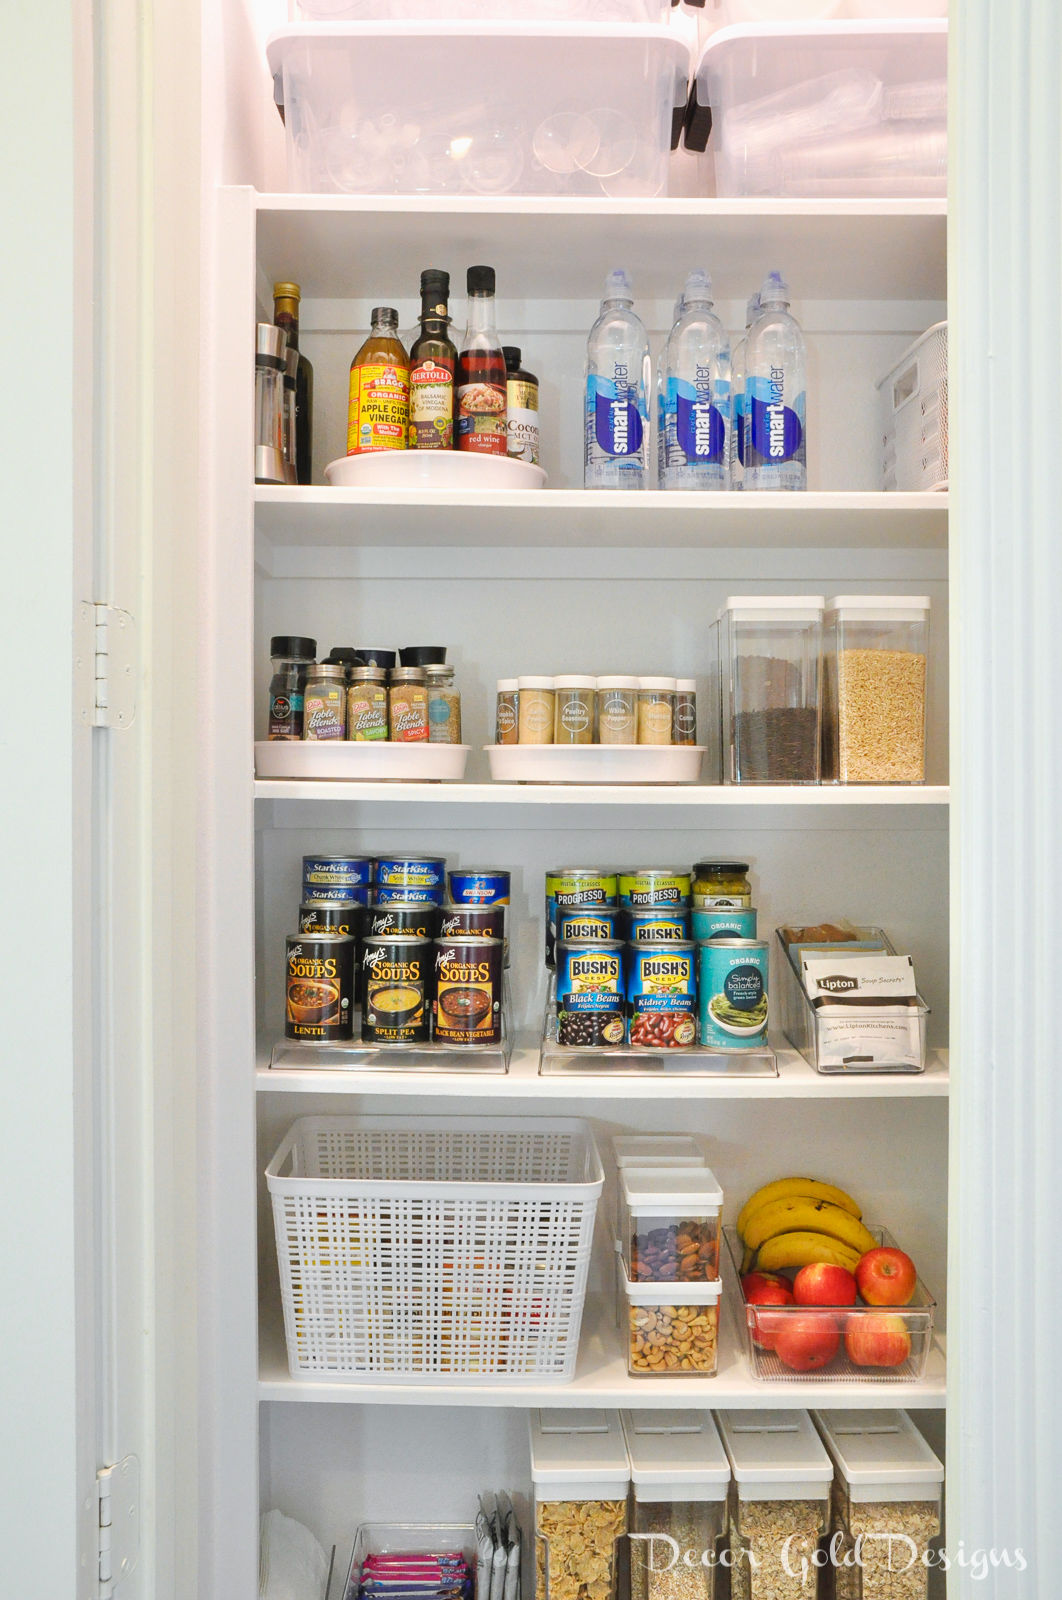
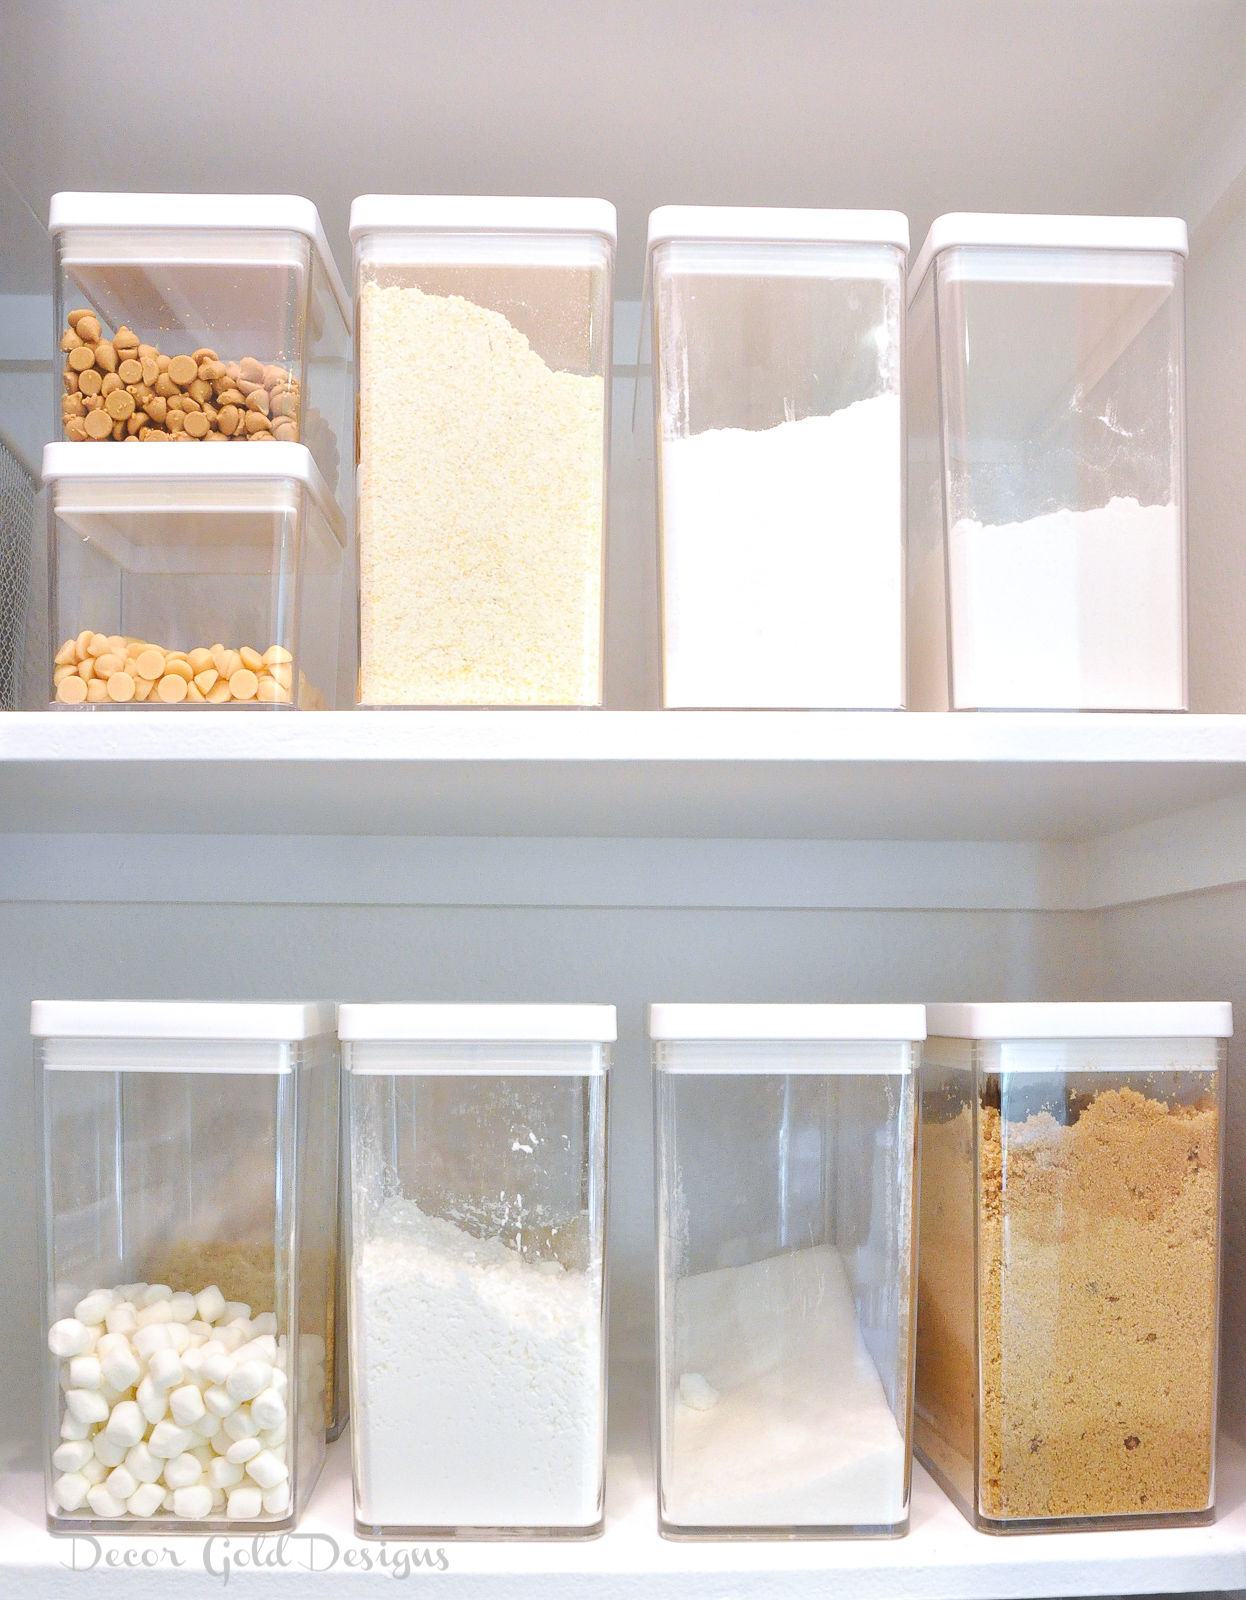
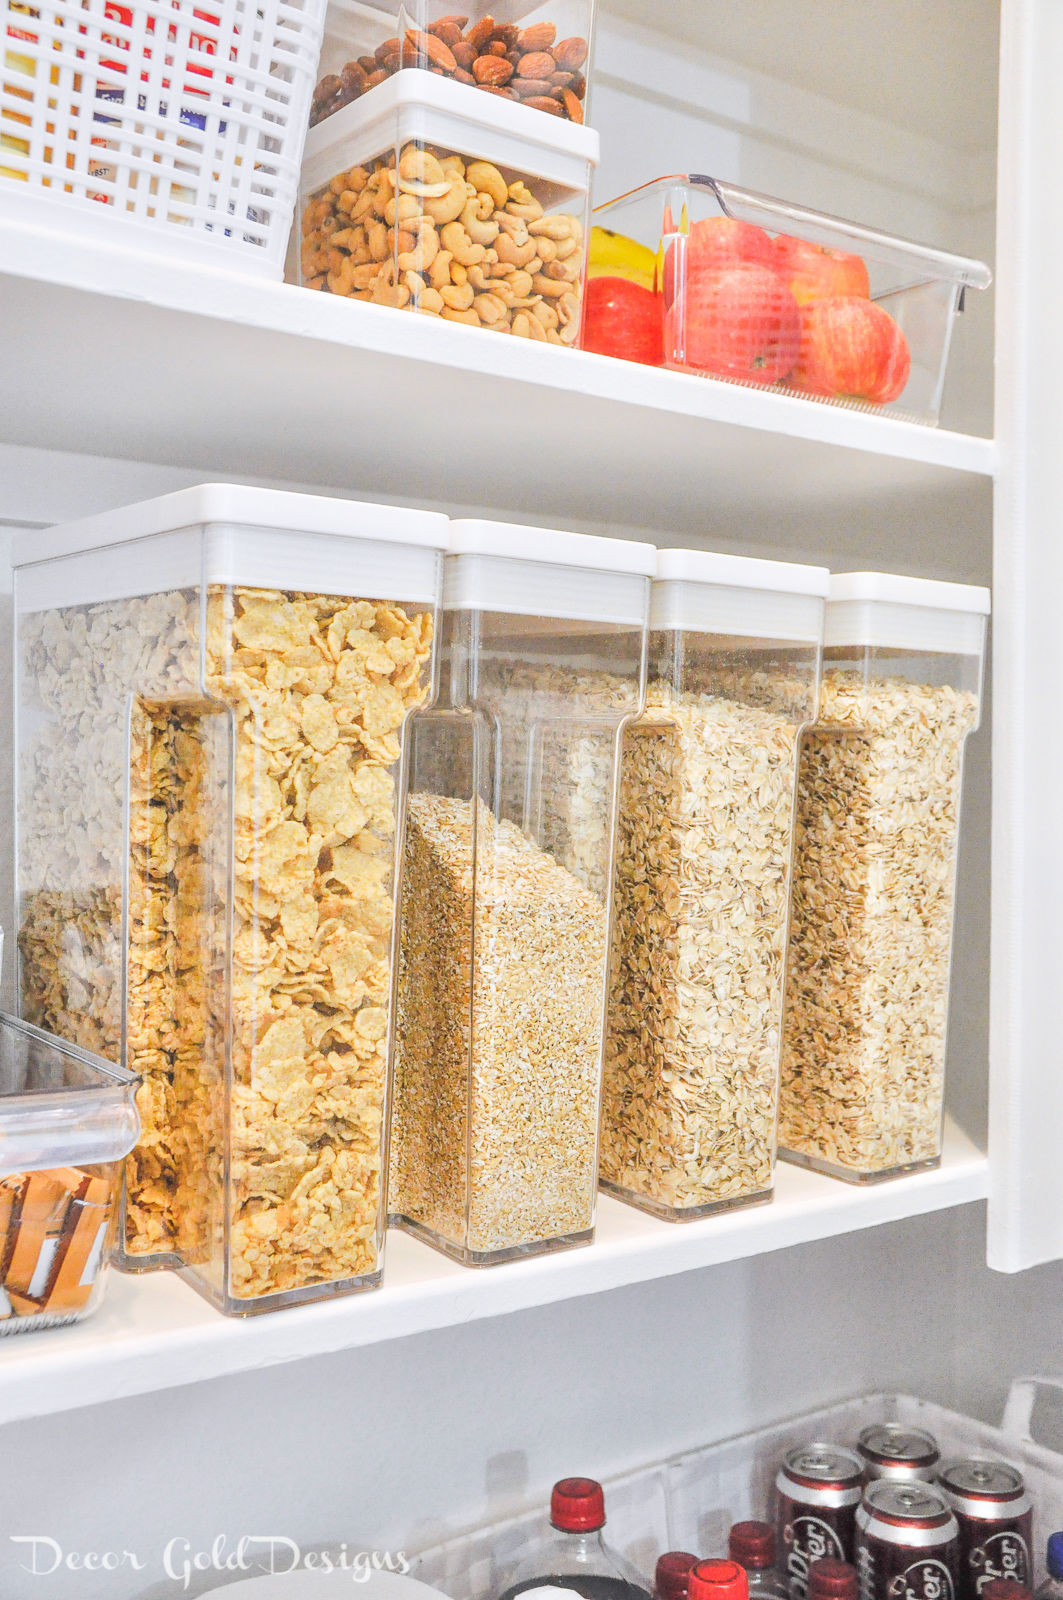
I selected the sleekest containers I could find. They are square and stack perfectly. The clear sides provide a nice view of the contents. They also have tight lids to help the containers keep your food fresh.
Here are the containers I am using:
- Canisters: 8 x 4 x 11.5 (cereal) | 8 x 4 x 8 | 4 x 4 x 8 | 4 x 4 x 4
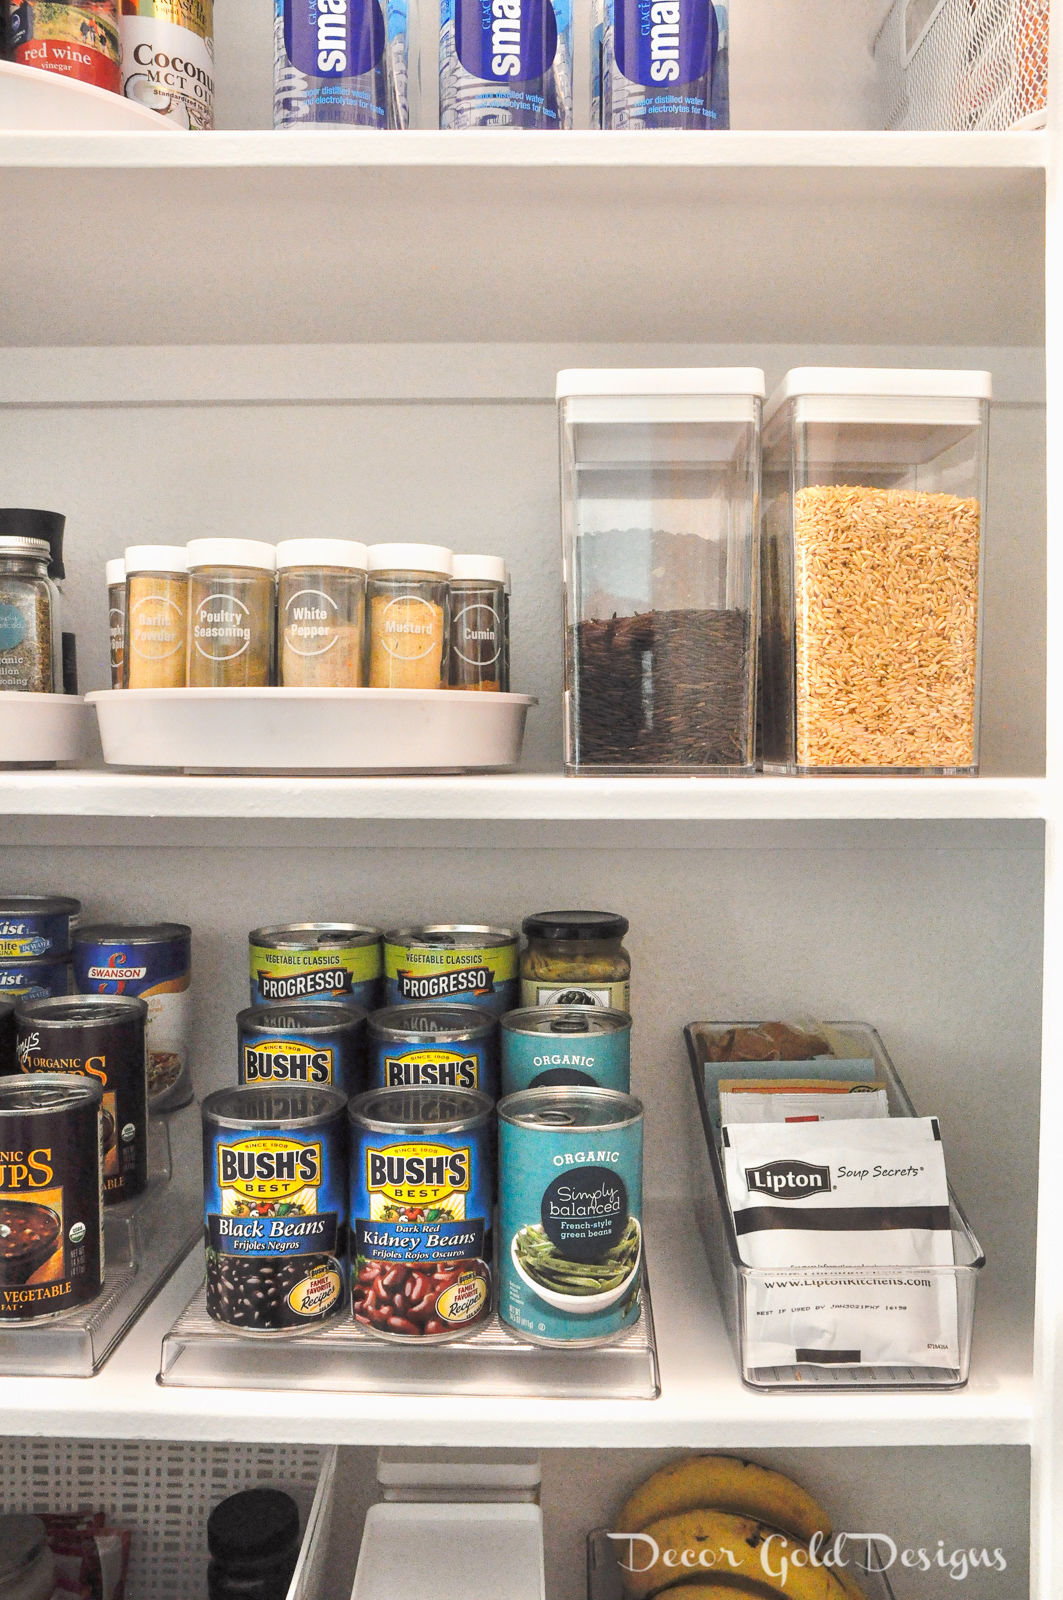
- Spice jars & labels
- Lazy Susans
- 3-tier shelves for cans
- Clear bins
- Caddy for packets
- Medium baskets – similar
- Large baskets
- Lidded storage bins
5. Add your food to your containers
Discard as many manufacturers’ original supplied boxes and containers as possible.
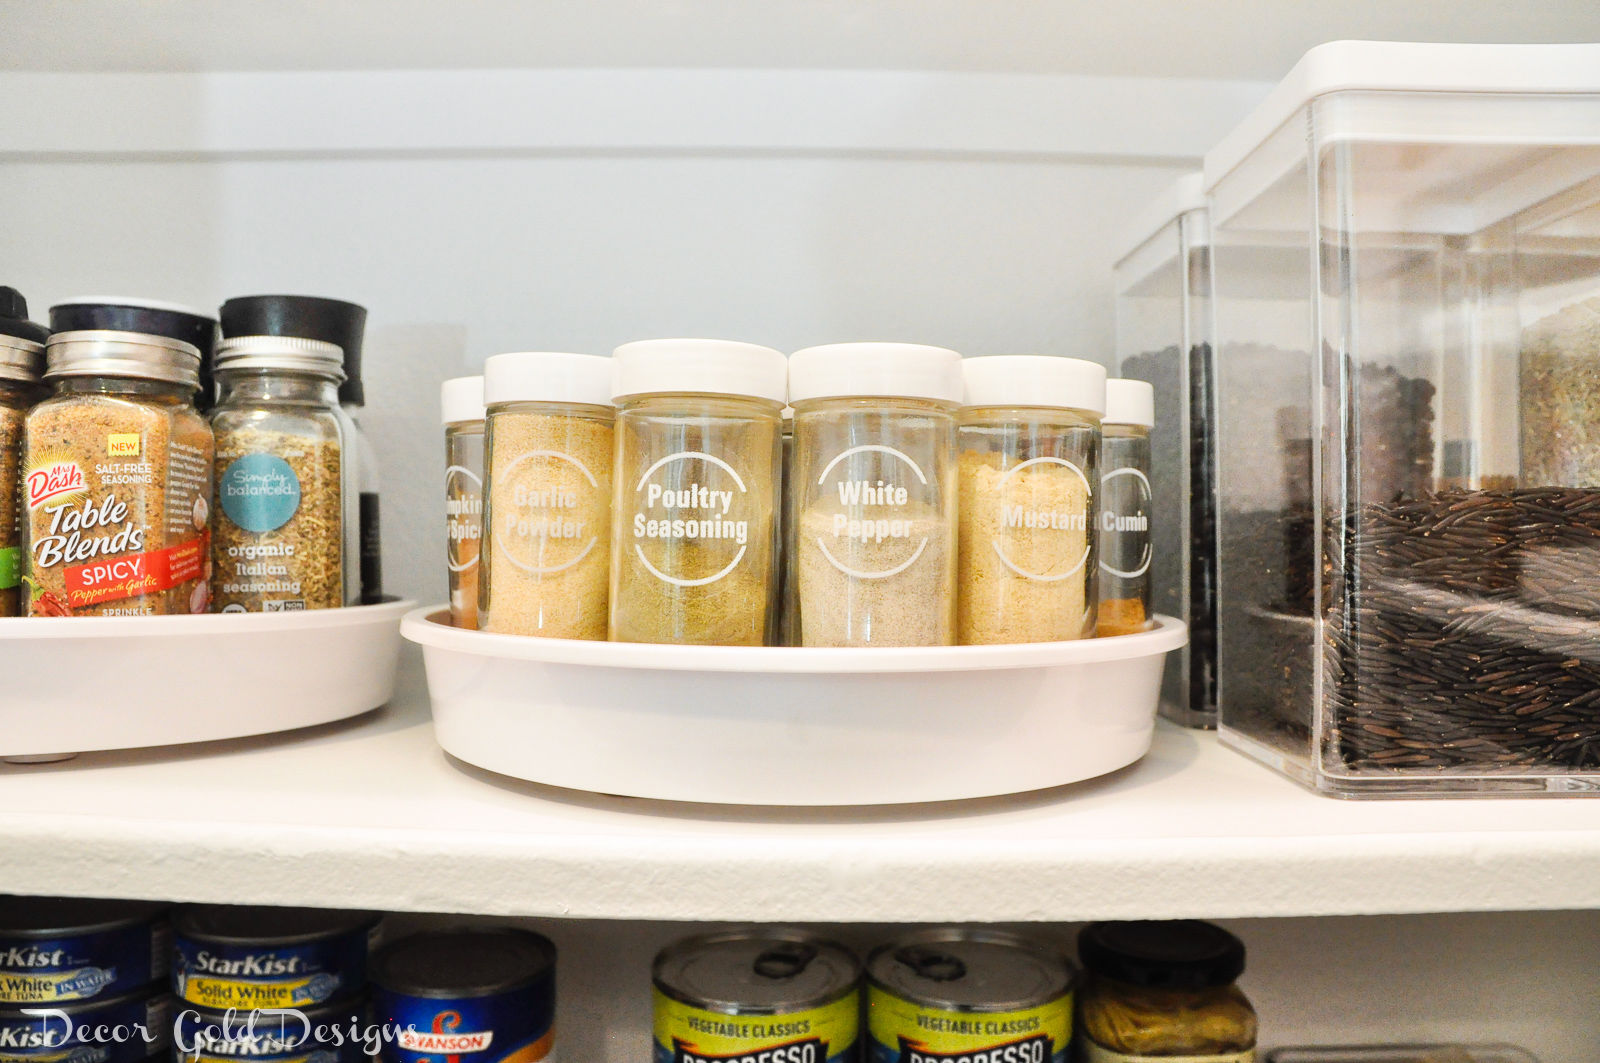
Once your new containers are filled, label as needed. I only added labels to my spice containers. I may add them to my canisters later, but I think I prefer the clean look they provide. For items with cooking instructions, I simply tape directions to the bottom of the container.
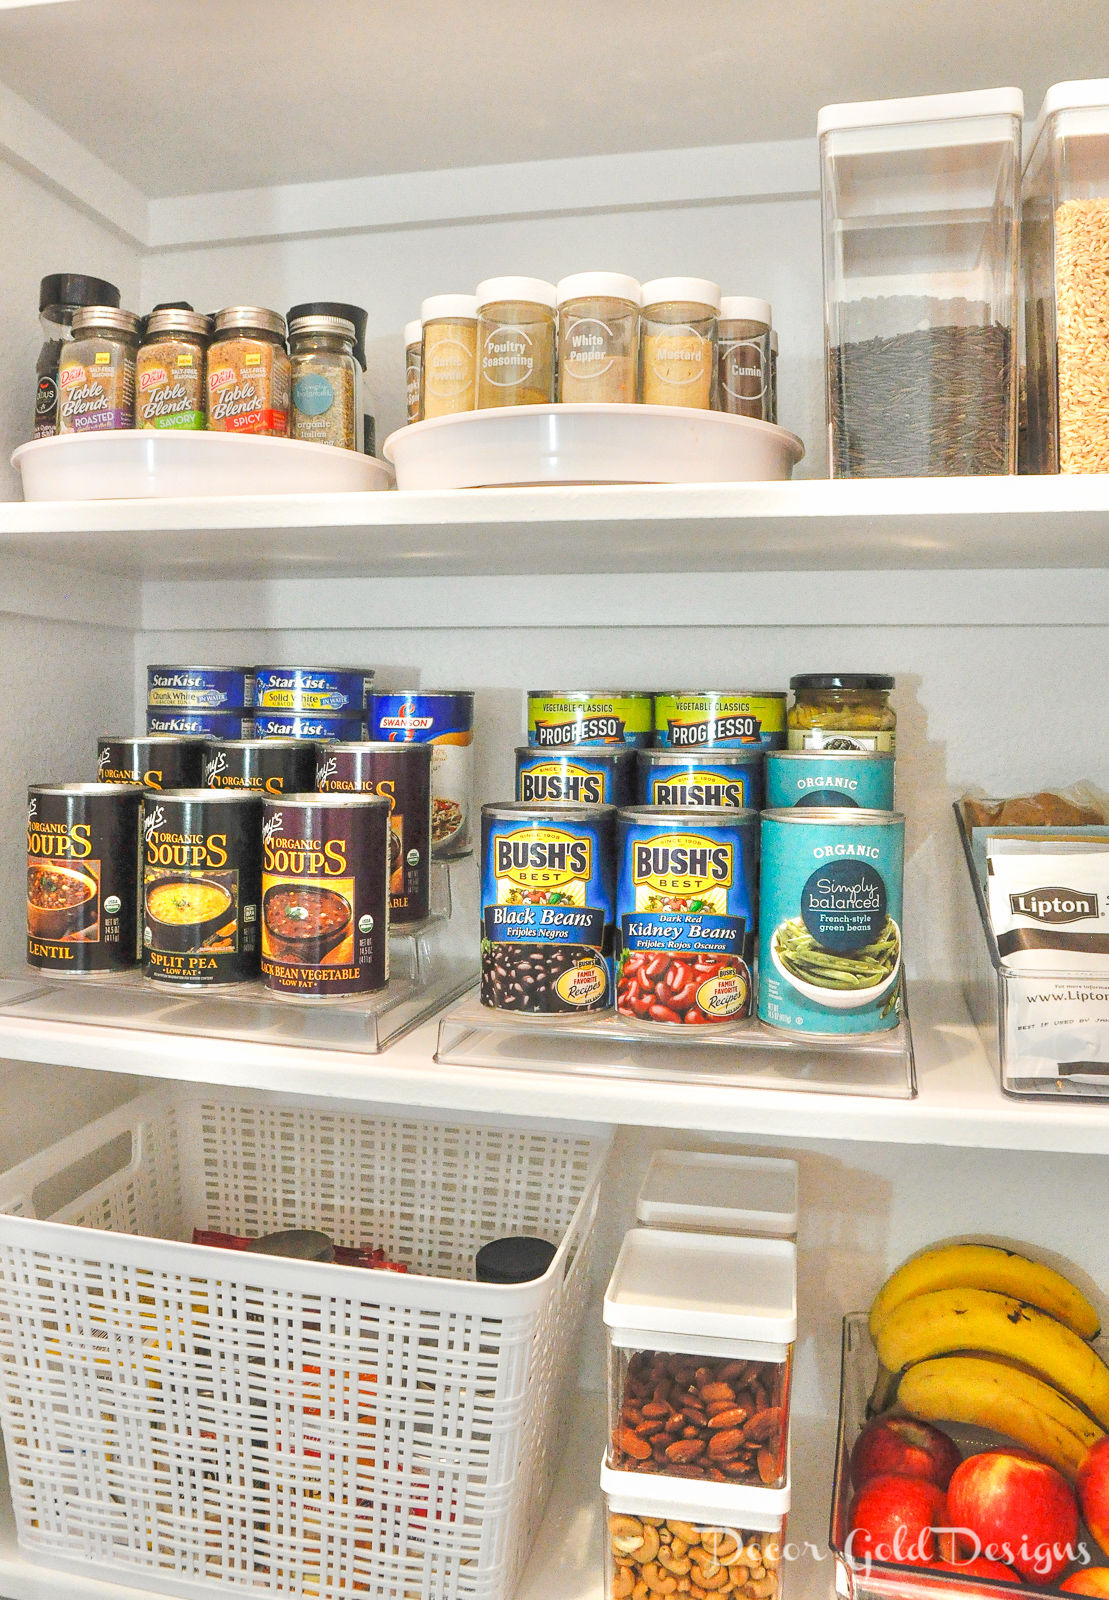
A Lazy Susan is a great spot for spice jars. I love that my new jars have white lids for a clean and coordinating look.
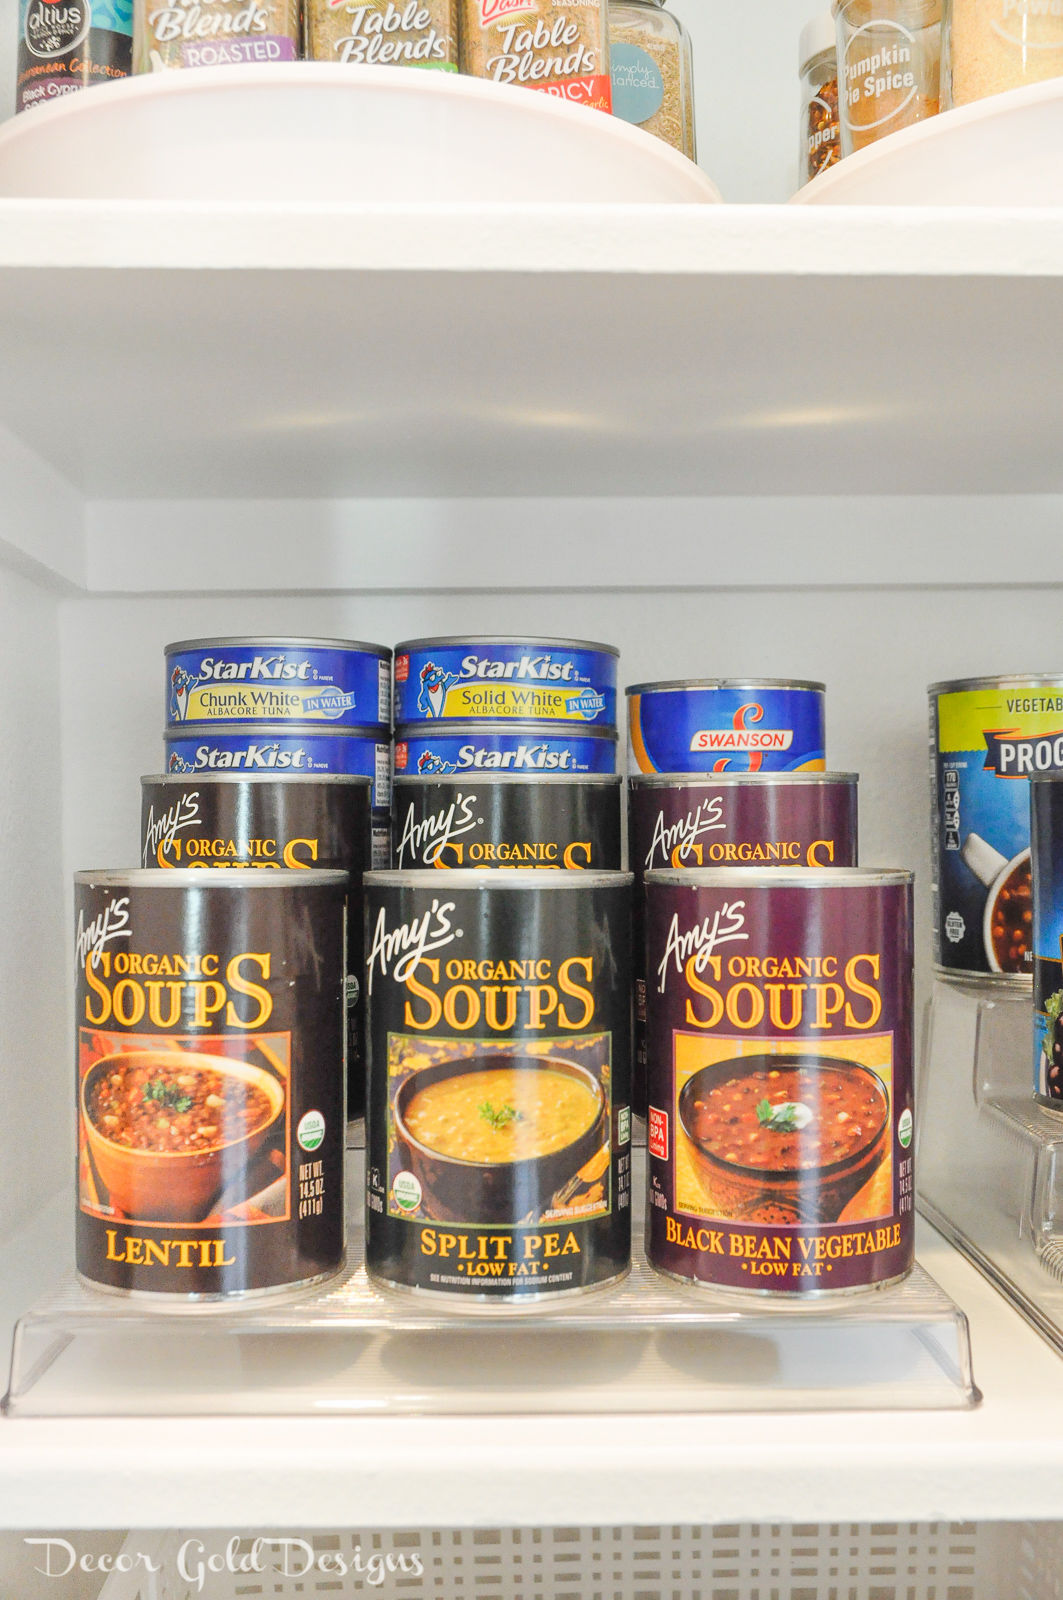
Two 3-tier shelves work perfectly for my cans.
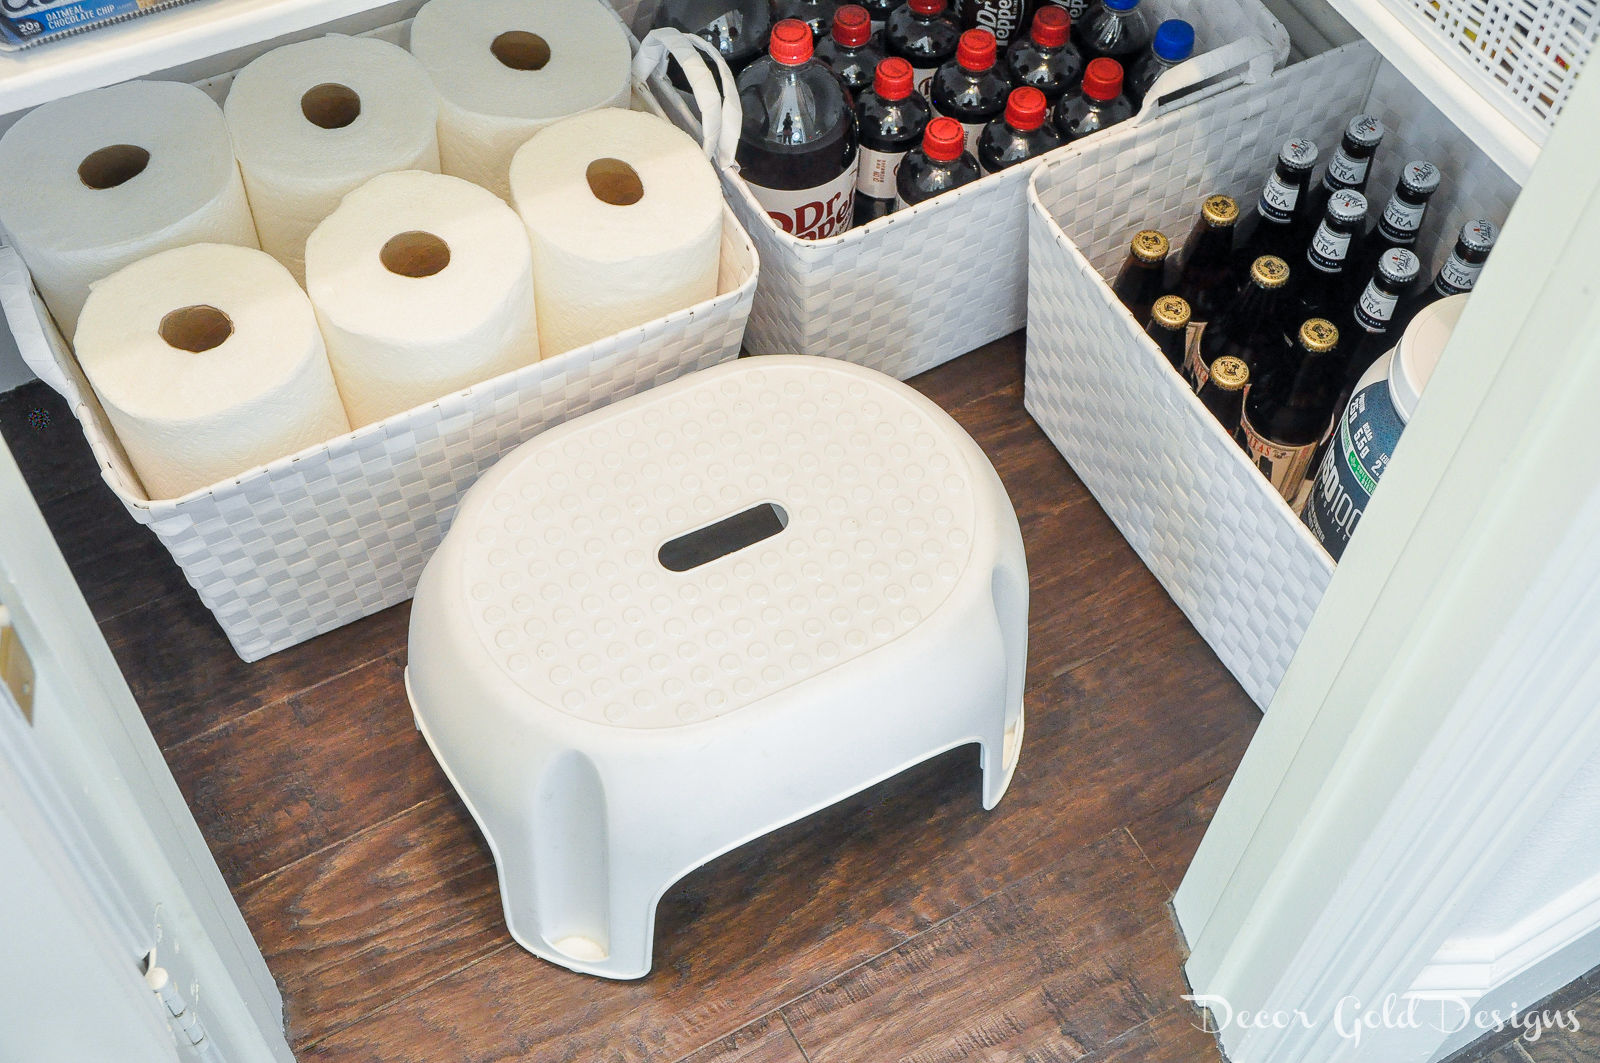
A stool also fits on the floor. We use clear plastic storage totes on my top shelves to contain miscellaneous items that we use infrequently. The stool makes access convenient, too!
Additional notes:
- Limit quantities when shopping. Staying organized becomes much more difficult if you purchase more items than your space can hold.
- Keep food fresh for a longer amount of time by storing it in canisters with airtight lids.
- As an added bonus, you may actually save money in the end. Being able to find everything will undoubtedly mean less waste!


[…] to organize a pantry (and it’s so […]