Decor Gold Designs

Home decorating, interior styling

  • Home
    • Hello
      • Contact
      • Privacy Policy
      • Disclosures and Photo Usage Policies
  • Home Tour
  • Shop
    • Favorite Pieces from My Home
      • Accessories
        • Beautiful Blue & White Home Accessories
        • Blush Crush
        • Faux Flowers and Branches
        • Candles
      • Pillows and Throw Blankets
      • Bedding
      • Rugs
      • Mirrors, Art, & Wall Decor
      • Lighting
      • Tabletop
  • Blog
  • Shop My Instagram
  • Sources
    • Living Room
    • Kitchen and Breakfast Nook
    • Master Bedroom
    • Guest Bedrooms
    • Dining Room
    • Entry
  • Shop Fall

Stay connected and get all the latest

3 Ways to Arrange Roses

I love roses. I love how beautiful they make a room feel.

Long-stemmed roses thrown in a vase “as-is” can seem ordinary and lacking in artistic quality.  Simply trimming them to shorter lengths can help you create an arrangement in which each beautiful rose stands out.

Today, I’ll be sharing how to put  together three simple and elegant rose arrangements.

*This post contains affiliate links. Read our full disclosure here.

First the basics.

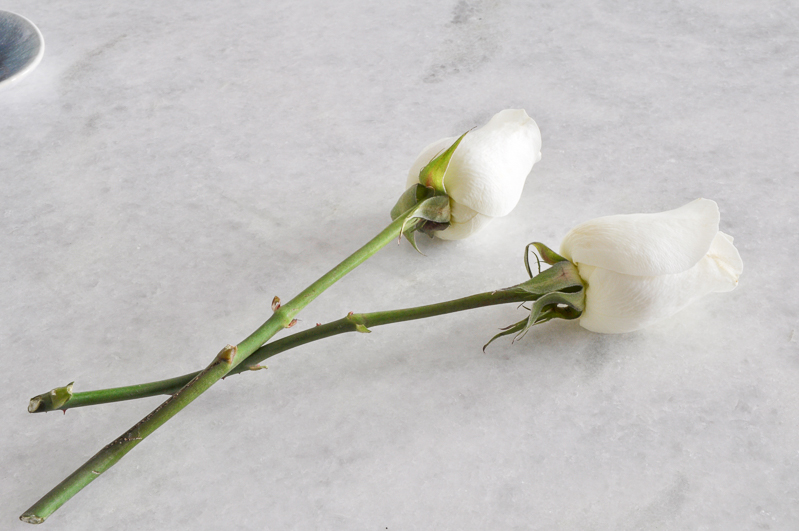
Use clean scissors or a sharp knife to trim your roses. Measure each stem to make sure it will show just above the rim of the vase. Cut the stems at an angle and cut off all damaged leaves and leaves that will fall below the water line. I frequently remove all leaves for a cleaner look.

Remove any outer petals that look damaged or unhealthy.

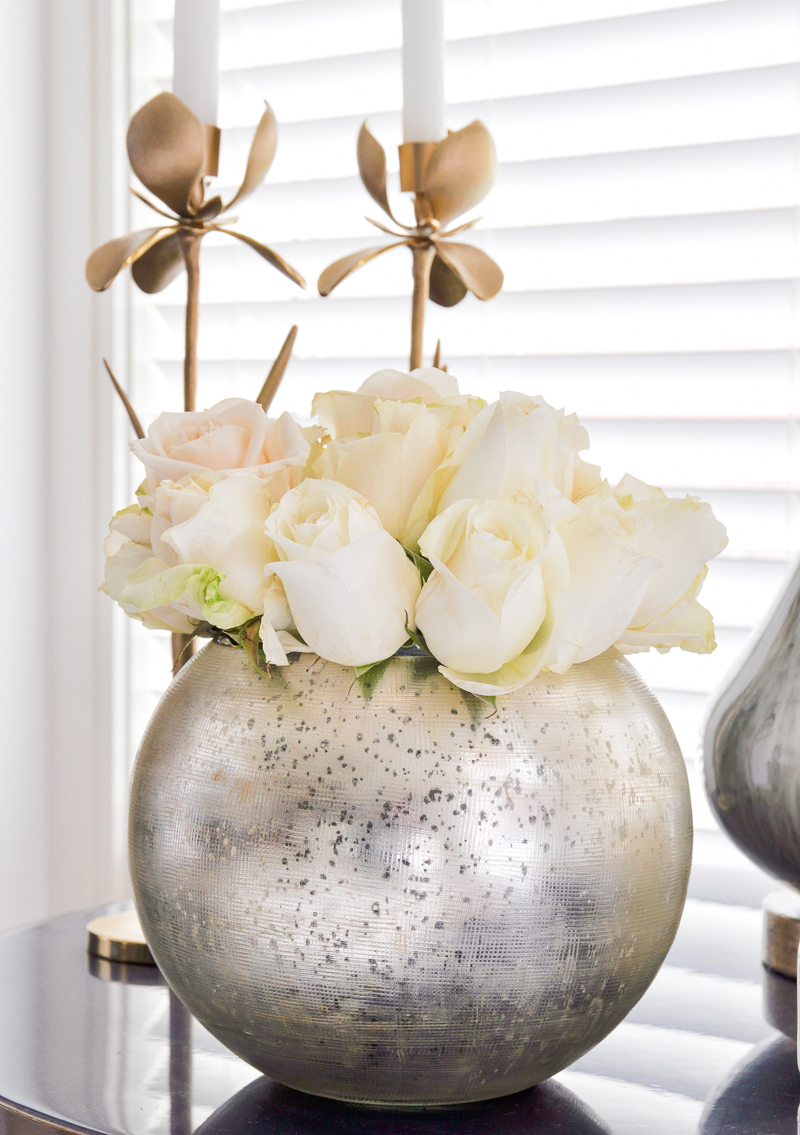
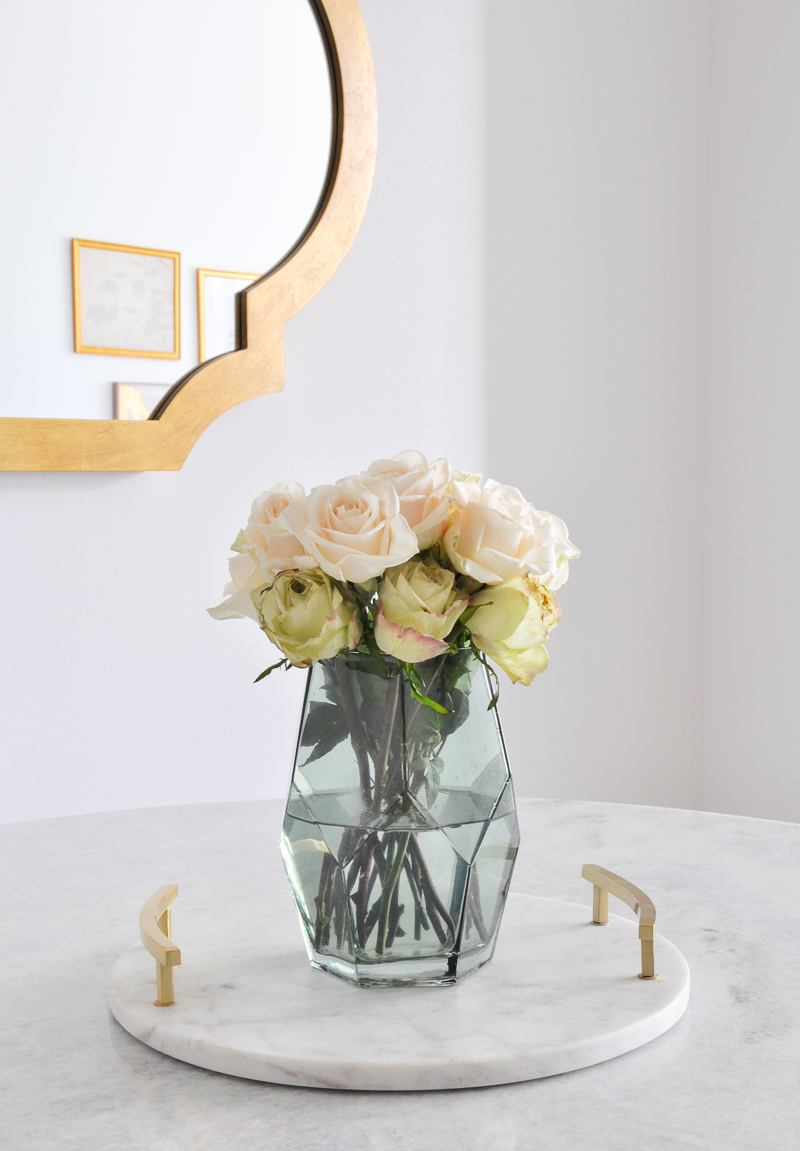
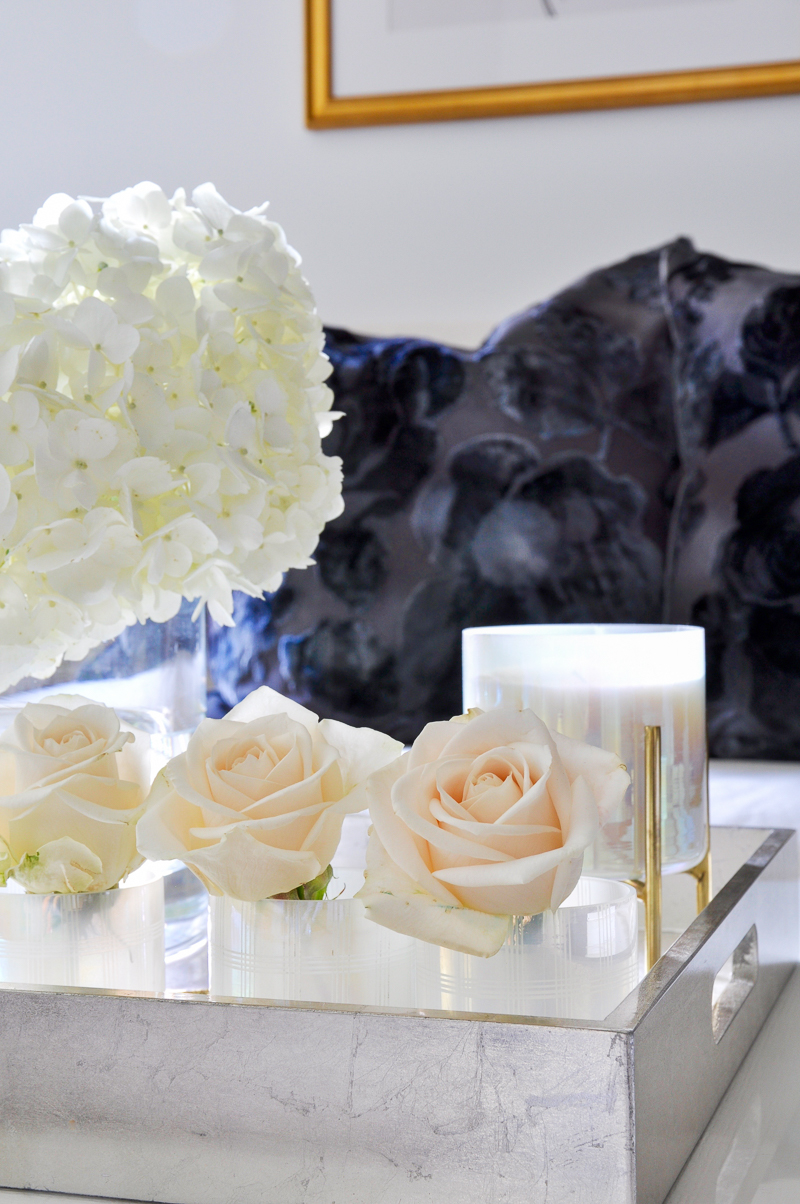
For my first arrangement, I trimmed my rose stems to about 7.5 inches.

roses properly trimmed

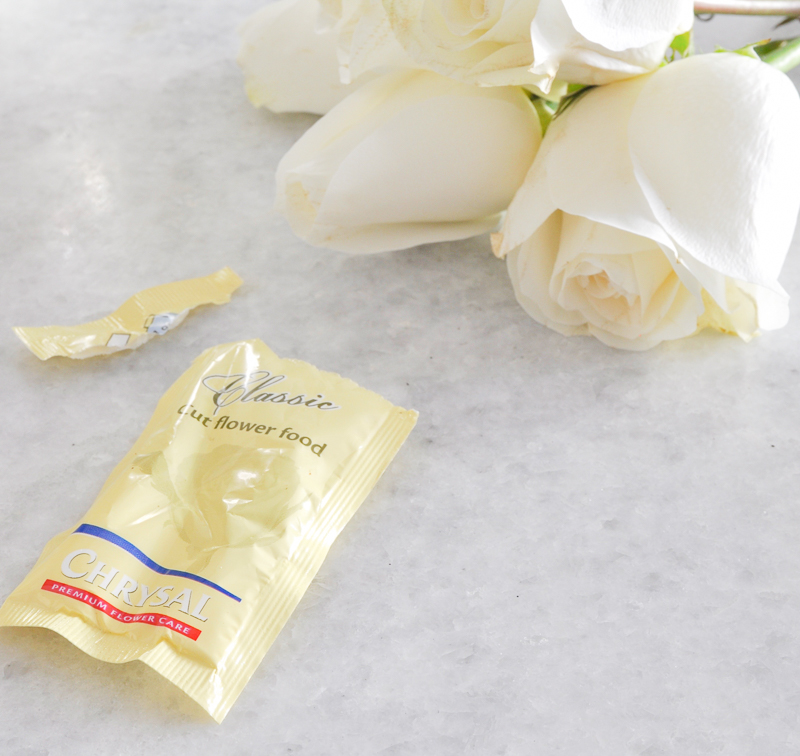
Add water and flower food to your vessel. A packet of food should come with your fresh flowers.

roses and flowers food

Now you are ready to start arranging.

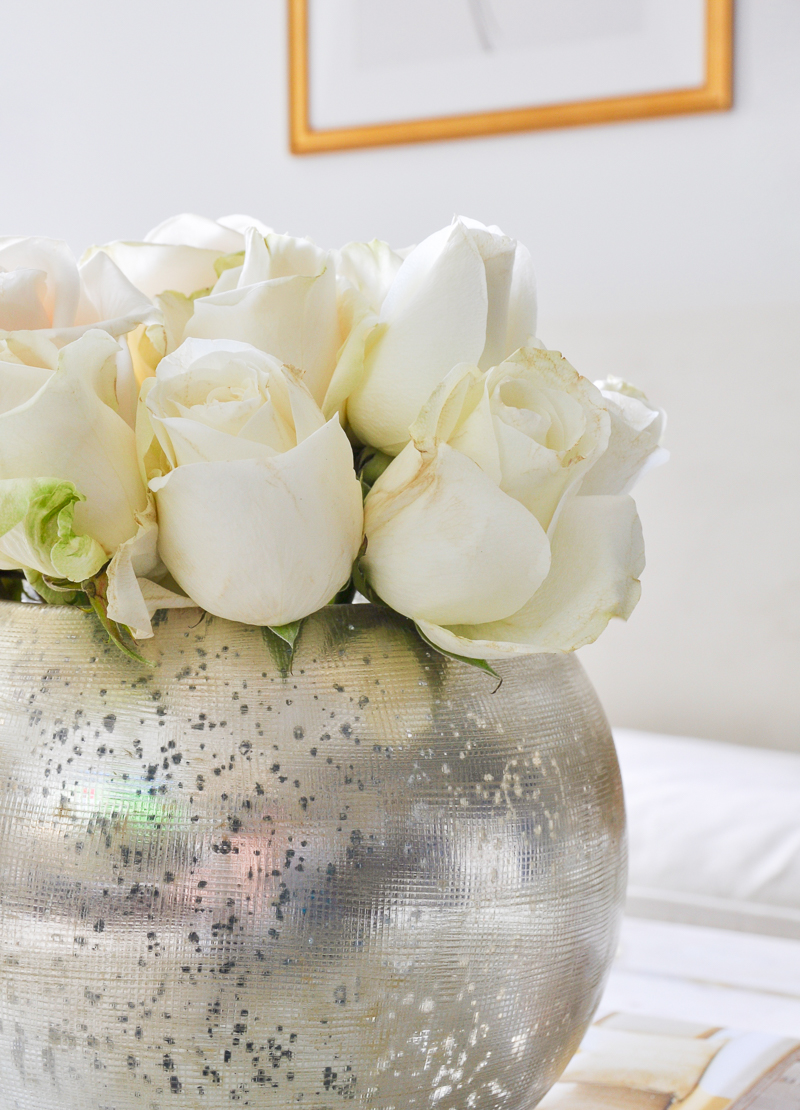
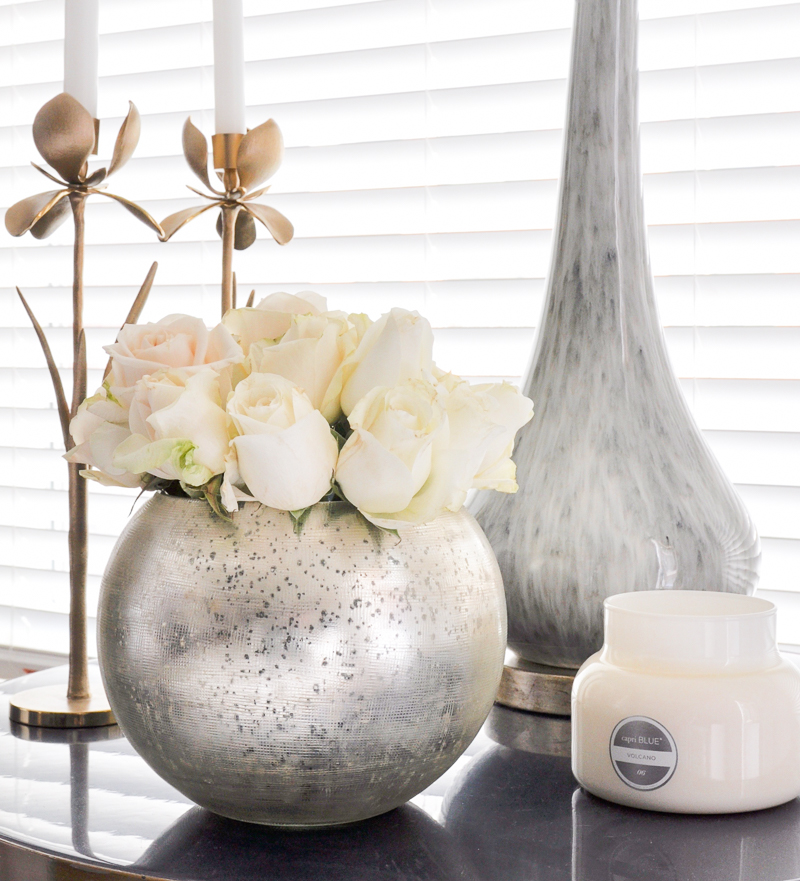
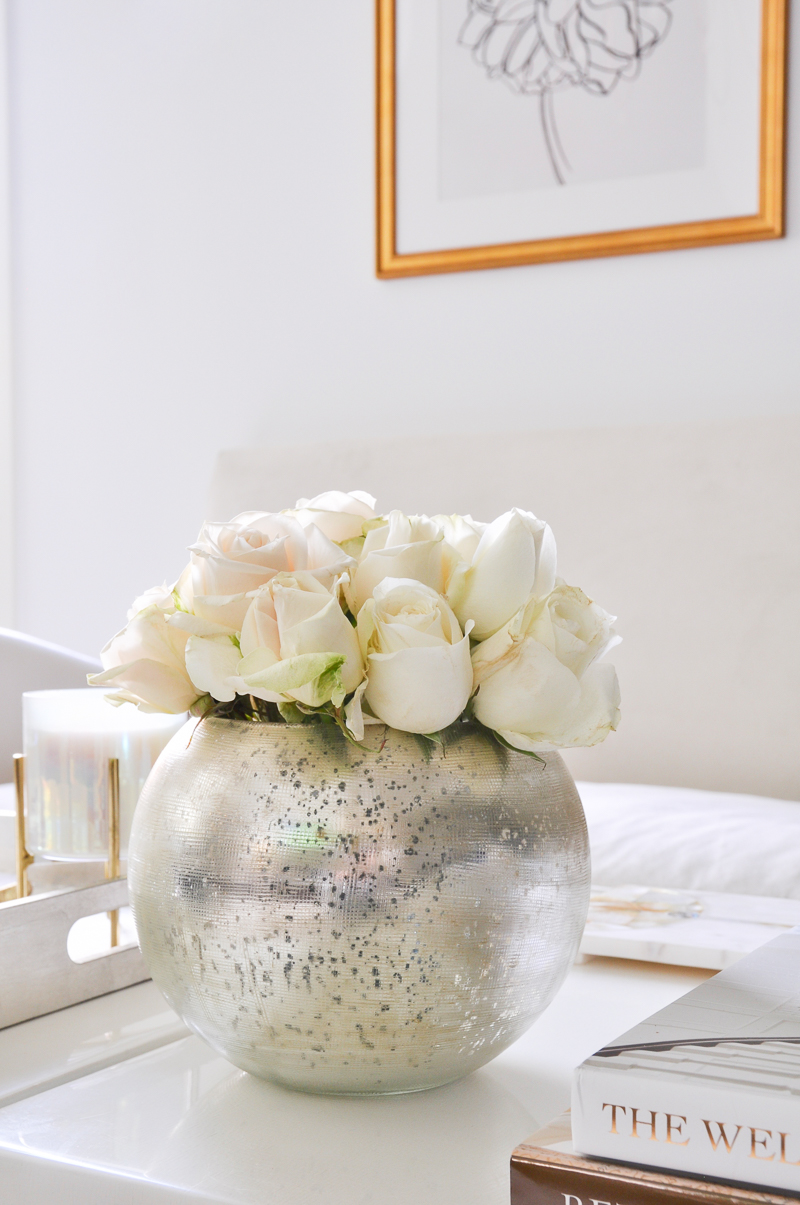
These are the items you’ll need for the first arrangement. I found this beautiful mercury glass vase last fall. It was lovely for the holidays, but definitely works for any time of year. It’s on sale here.

witems you need to arrange roses round vase

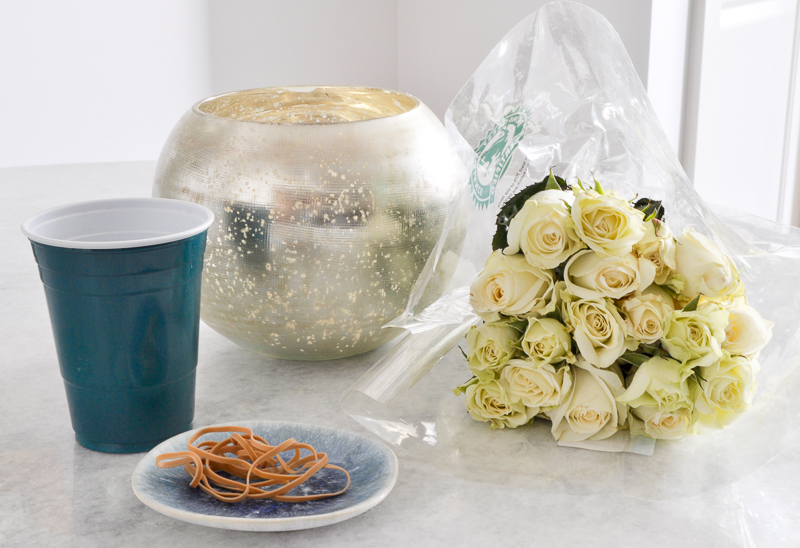
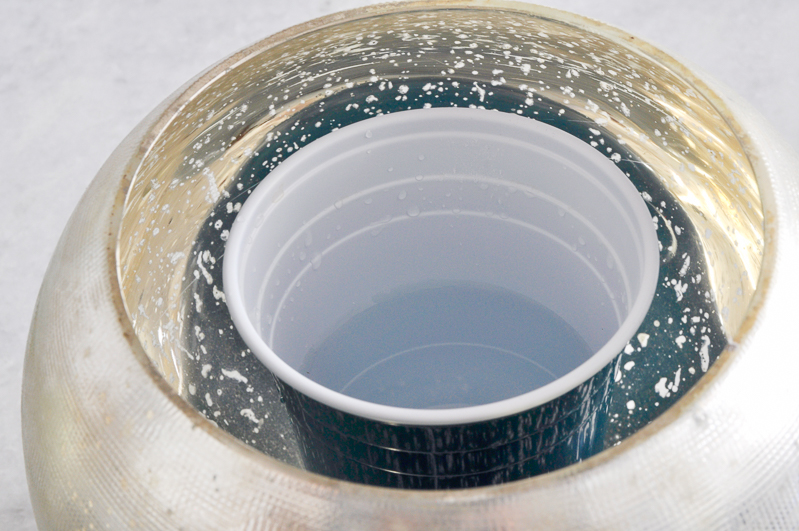
I place the solo cup inside the vase to keep the inside of the vase dry and to better contain my roses.

how to put flowers inside a mercury glass vase

Next, I grouped about 5 roses together with a rubber band.

roses gathered in rubber bands

arranging rose in a round vase

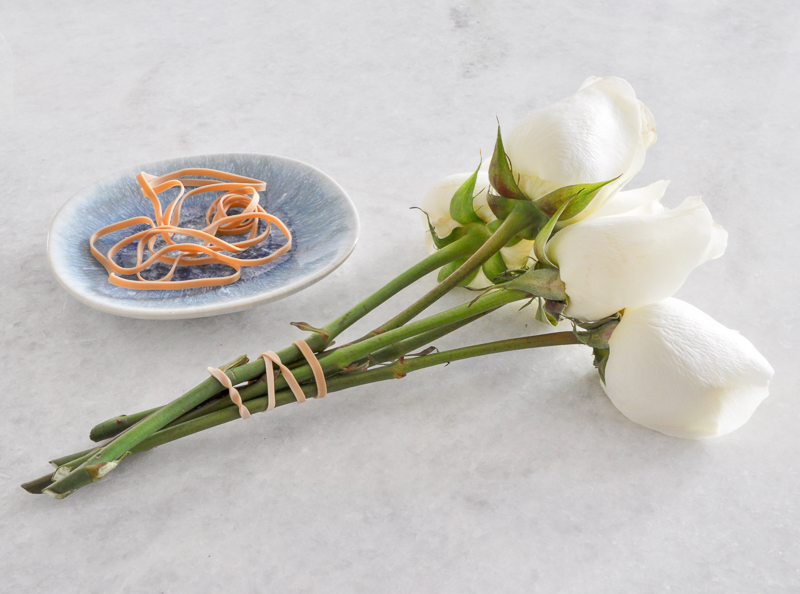
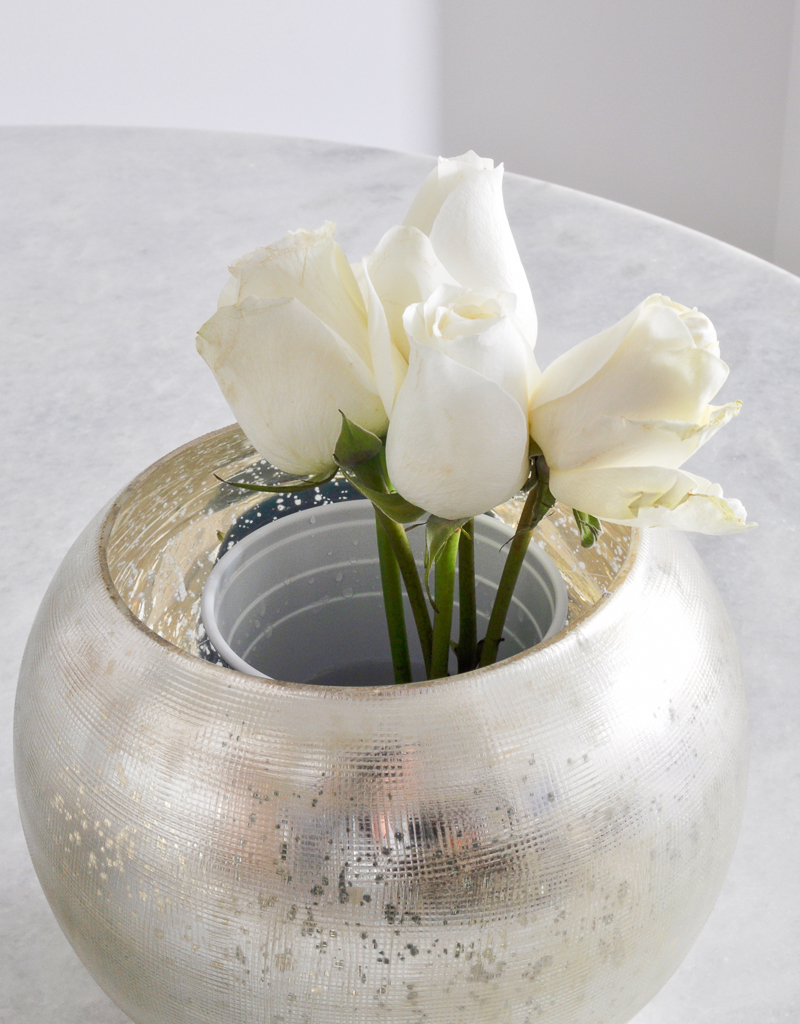
I used 3 groups of 5 roses banded together and 3 additional roses to fill in holes for a total of 1.5 dozen (18) roses. Be sure to leave a little room for your roses to open up.

great tips for arranging rose in a round vase

great idea for arranging rose in a round vase

gorgeous roses in a round vase

I assembled the same look here in pink for my Valentine’s Day table.

great tips for arranging rose in a round vase

For my second look, I used a very current taller, more slender vase.

items you need to arrange roses in a glass vase

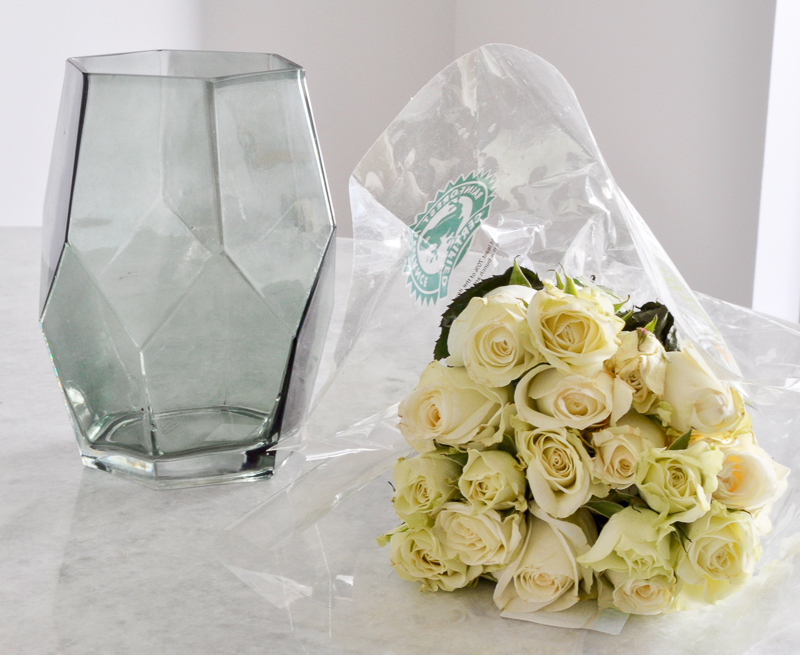
I layered my new roses with 5 roses I had from a previous bouquet. You could use other types of flowers for this layering technique.

great tips for arranging rose in a beautiful green vase

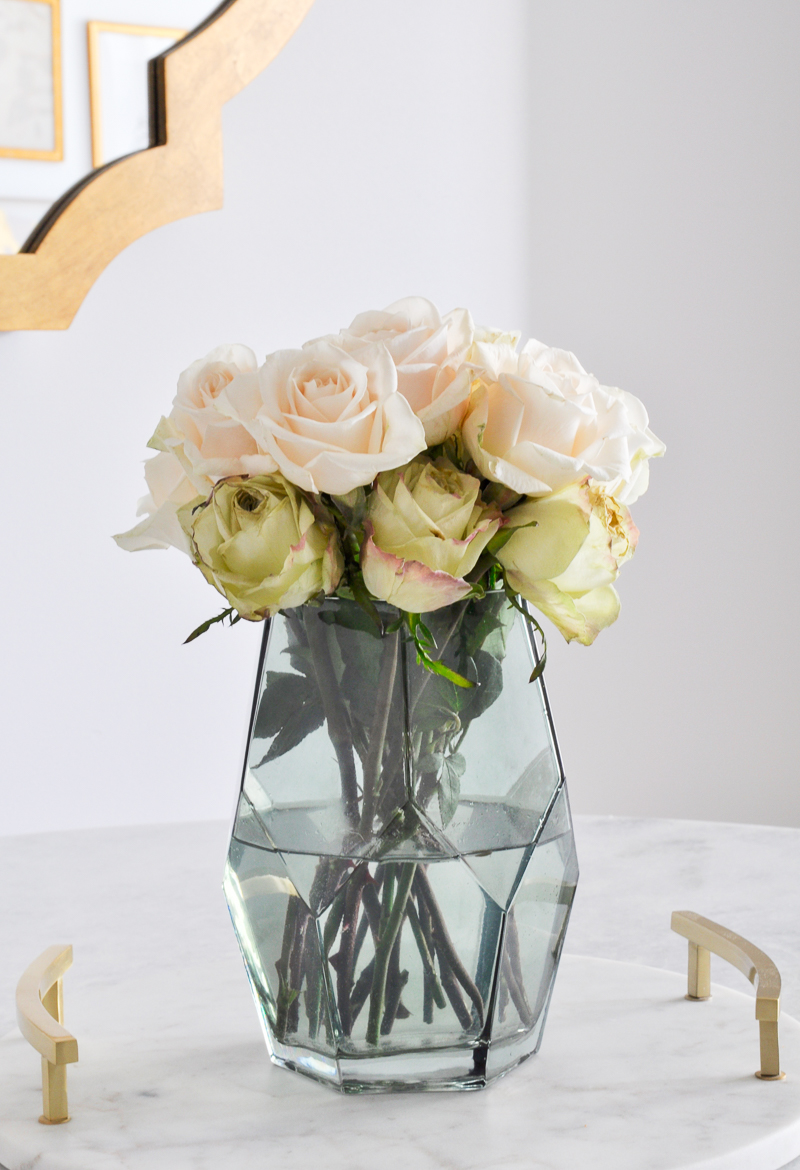
Leave your center roses approximately 1-1.5 inches taller than the ones that are near the rim.

great tips for arranging rose in a beautiful green vase

Layering your vase on a beautiful tray help your arrangement stand out.

great tips for arranging rose in a beautiful green vase

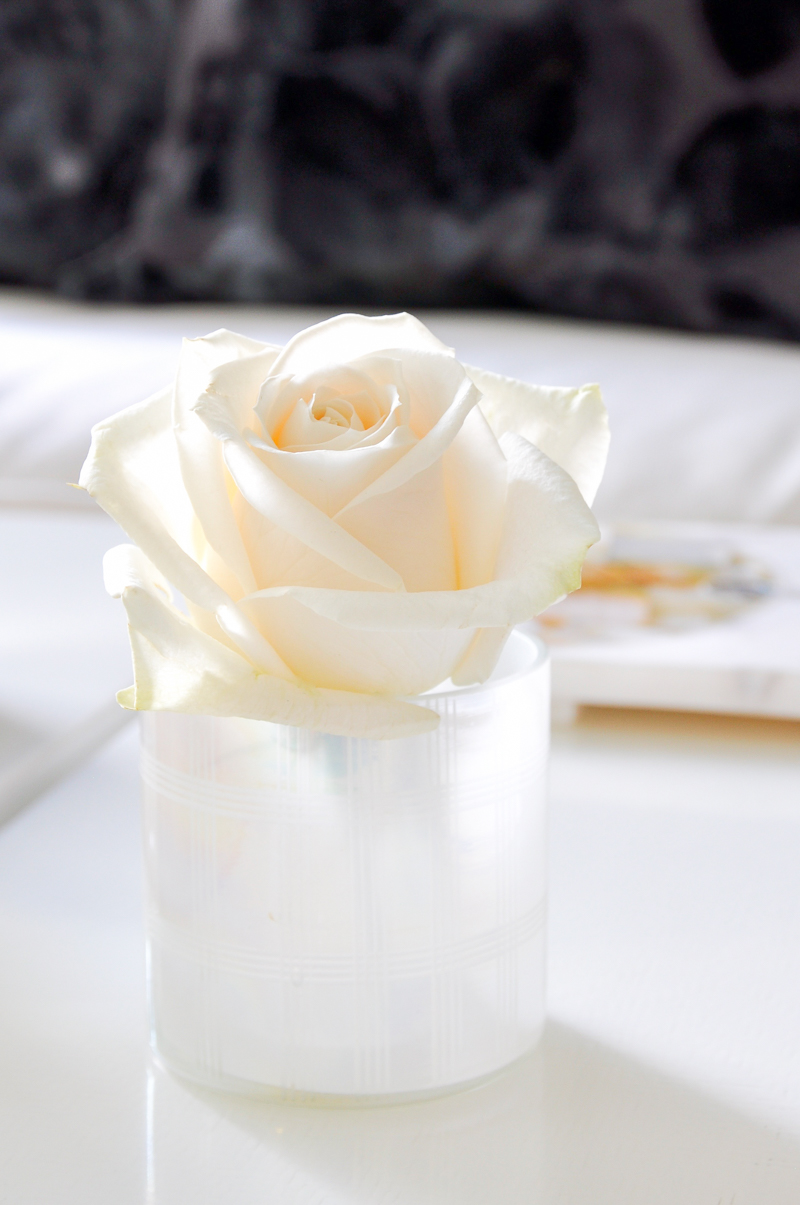
And the last look is so simple, but provides a beautiful statement.

single white rose arranged in votive

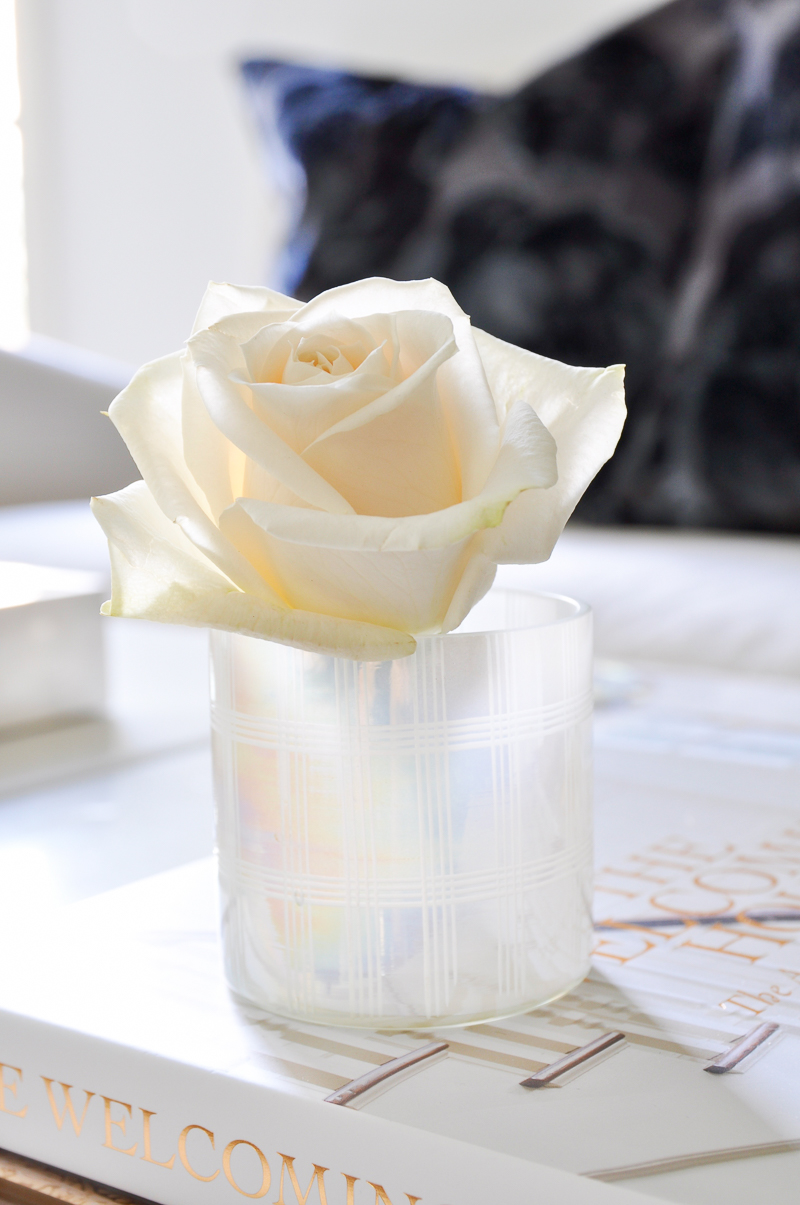
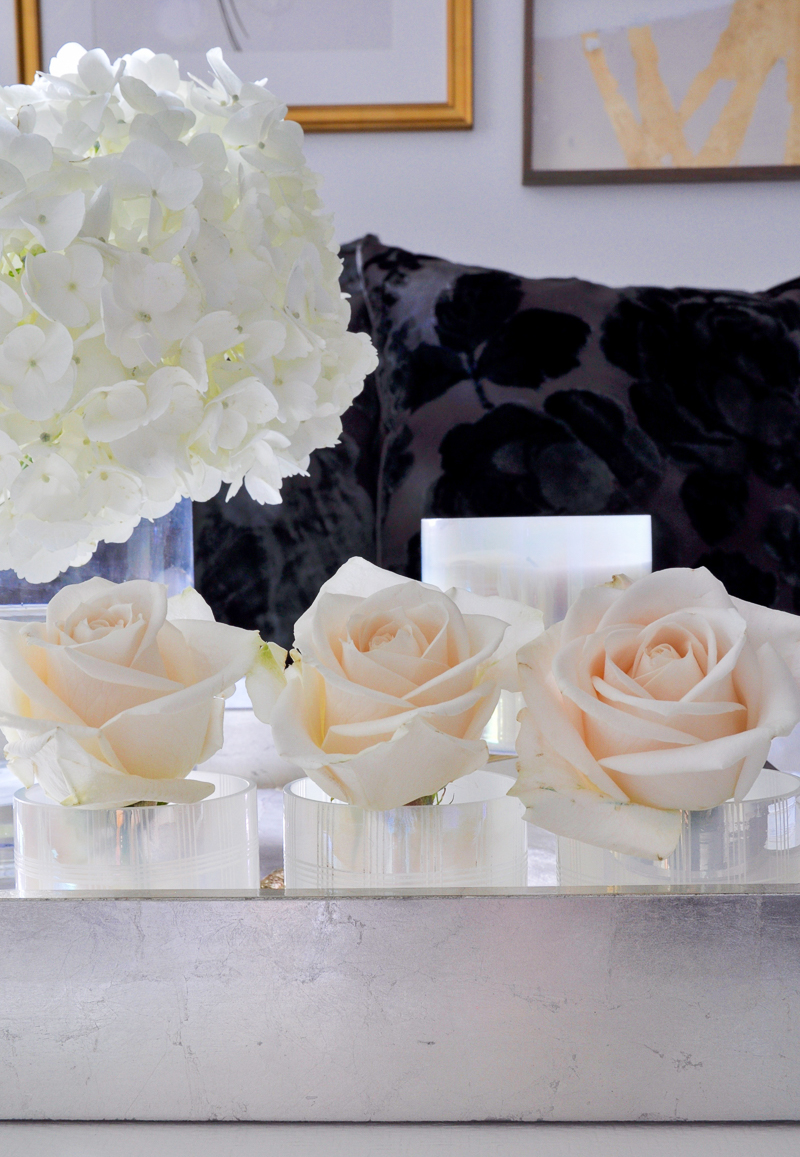
I simply trimmed my rose stems short enough to lean at an angle in a votive.

rose arranged in votive

They are lovely grouped together in a row.

roses arranged in votives

roses arranged in votives

One last tip, be sure to change your water every day or so to get more life out of your roses.

Arranging roses is such a wonderful task. I hope you learn to enjoy it enough to bring home a weekly bouquet and arrange them to enjoy in your home.


Stay connected…..

Click on the Image to Subscribe

SOCIAL

Instagram | Pinterest | Facebook


SaveSave

SaveSave

Filed Under: Uncategorized 6 Comments

Subscribe to get the latest

« Bed Making – Step by Step
Small and Stylish Loft Living Room Project »

Comments

  1. Toni says

    February 16, 2018 at 10:26 am

    Beautiful ideas. Just a little tip that I hope is helpful. Never wash or wipe the inside of a mercury glass container, it will wipe the mercury coating right off. I learned the hard way!

    Reply
    • Jennifer says

      February 16, 2018 at 10:28 am

      Thank you so much Toni! And yes! It is why I put the plastic cup inside of mine. I think I will add that note to the post for those who don’t know. Thanks again!!! xo

      Reply
  2. awv says

    February 16, 2018 at 3:38 pm

    Thank you for the tip about mercury glass!
    Jennifer, Your arrangements are beautiful. Do you ever use floral foam, and if so, what type of arrangements do you use them. Love the rubberband tip on clustering them together-I will be using that technique, and the solo cup for sure!
    Thank you!

    Reply
    • Jennifer says

      February 16, 2018 at 4:38 pm

      Hello and thanks so much! Glad you found some helpful ideas! I do use floral foam at times. I usually put it in vessels that are more shallow. I plan to do a spring arrangement that may require foam. If I do I’ll provide instructions. Thanks for asking about it. It’s such a great product!

      Reply
  3. Norma Rolader says

    February 18, 2018 at 8:00 am

    Oh so beautifully done and thank you for sharing tips and tricks

    Reply
    • Jennifer says

      February 18, 2018 at 1:22 pm

      Thank you and you are so welcome!!! xo

      Reply

Leave a Reply Cancel reply

Your email address will not be published. Required fields are marked *

This site uses Akismet to reduce spam. Learn how your comment data is processed.

Hi! I’m Jennifer

Hi! I’m Jennifer
  • Email
  • Instagram
  • Pinterest

FAVORITE FINDS

Recent Posts

  • Christmas Bedroom in Shades of Green
  • Cozy Gift Ideas
  • Holiday Party + Gift Ideas
  • Traditional Fall Pumpkin Centerpiece
  • Big Changes!

Archives

  • December 2022
  • November 2022
  • September 2022
  • July 2022
  • April 2022
  • February 2022
  • January 2022
  • December 2021
  • November 2021
  • October 2021
  • September 2021
  • July 2021
  • June 2021
  • April 2021
  • March 2021
  • February 2021
  • January 2021
  • December 2020
  • November 2020
  • October 2020
  • September 2020
  • August 2020
  • July 2020
  • June 2020
  • May 2020
  • April 2020
  • February 2020
  • January 2020
  • December 2019
  • November 2019
  • October 2019
  • September 2019
  • August 2019
  • July 2019
  • June 2019
  • May 2019
  • April 2019
  • March 2019
  • February 2019
  • January 2019
  • December 2018
  • November 2018
  • October 2018
  • September 2018
  • August 2018
  • July 2018
  • June 2018
  • May 2018
  • April 2018
  • March 2018
  • February 2018
  • January 2018
  • December 2017
  • November 2017
  • October 2017
  • September 2017
  • August 2017
  • July 2017
  • June 2017
  • May 2017
  • April 2017
  • March 2017
  • February 2017
  • January 2017
  • December 2016
  • November 2016
  • October 2016
  • September 2016
  • August 2016
  • July 2016
  • June 2016
  • May 2016
  • April 2016
  • March 2016
  • February 2016

Copyright © 2023 · Decor Gold Designs · site design by Your Marketing BFF

Copyright © 2020 · Decor Gold Designs · Privacy Policy · Genesis Framework · WordPress · Log in